

It truly goes without saying that any parent would go through a lot of lengths just to find the perfect nanny to care for their offspring. Even most parents take the time to screen nanny applicants to see if their qualifications match as to what they are looking for in a nanny.
And without a doubt caring for children can be tough especially for parents who may be busy or are still new to the whole parenting thing. So this is where people get ideas on hiring for a governess or a babysitter or even a nanny. But how does one really hire a nanny without getting tricked into taking one, as well as how much do you have to pay the nanny to take good care of your child or children?
Before you panic and start to wonder about that, why don’t you check this out for a little bit. Check out these templates below, 10+ Nanny Receipt Examples in PDF.
[bb_toc content=”][/bb_toc]
10+ Nanny Receipt Examples
1. Nanny Day Care Receipt
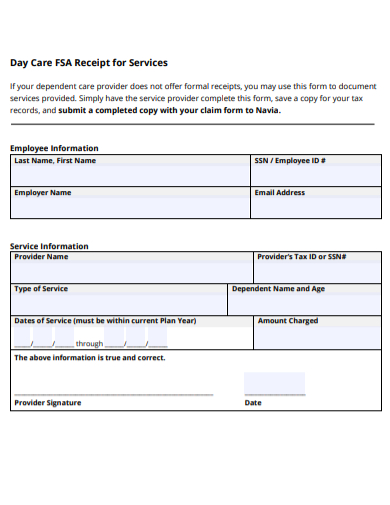
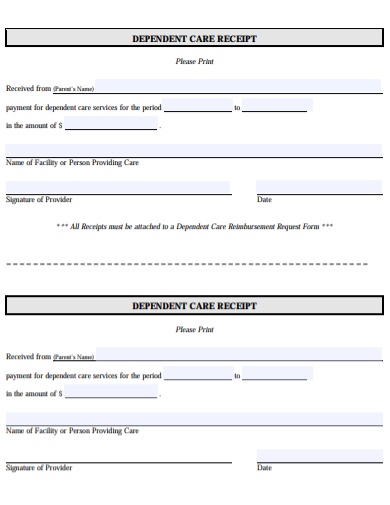
2. Nanny Dependent Care Receipt
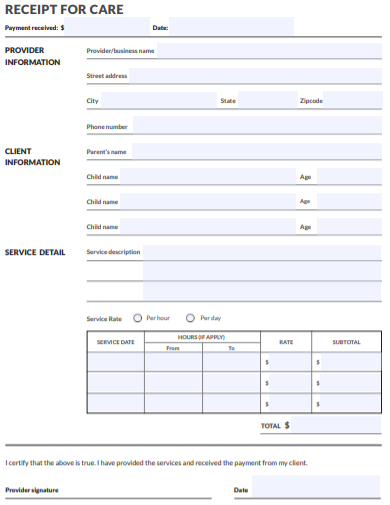
3. Nanny Care Payment Receipt Template
4. Nanny Acknowledgement Payment Receipt

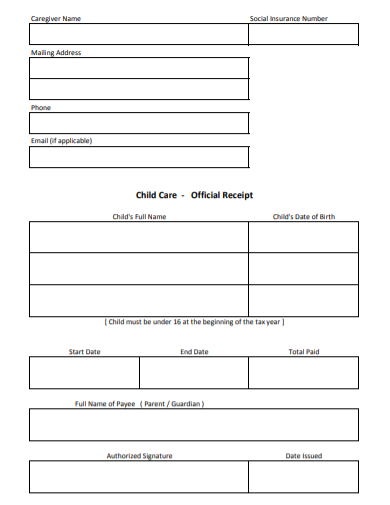
5. Nanny Child Care Receipt Template
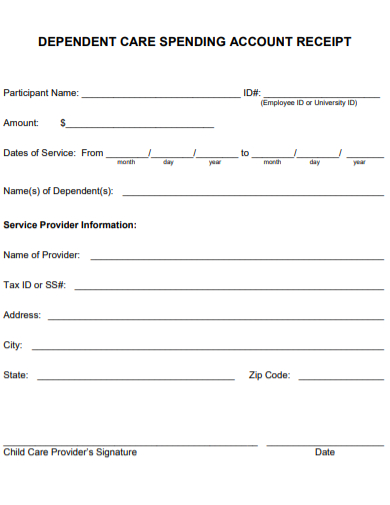
6. Dependent Care Nanny Account Receipt
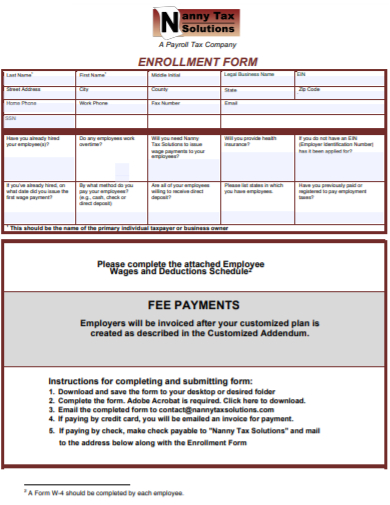
7. Nanny Tax Fee Payment Receipt
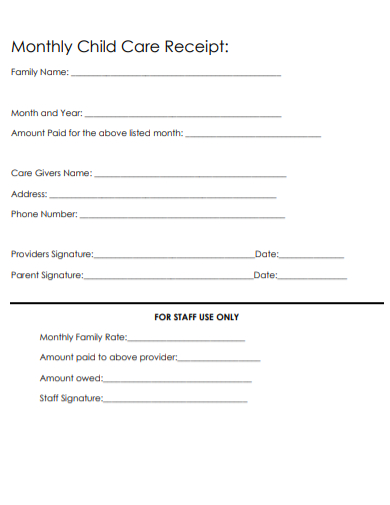
8. Nanny Monthly Child Care Receipt
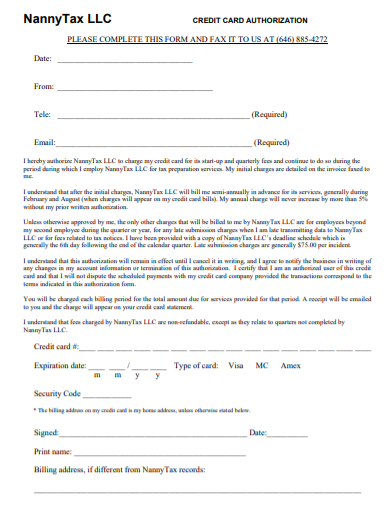
9. Nanny Credit Card Receipt
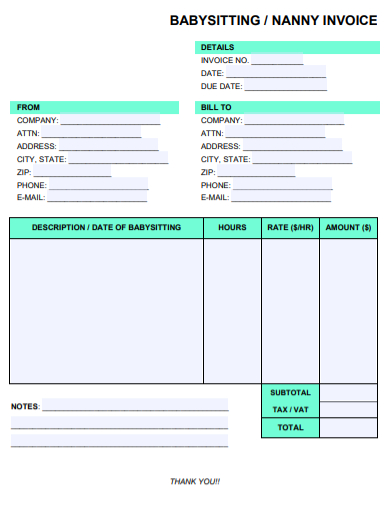
10. Babysitting Nanny Invoice Receipt
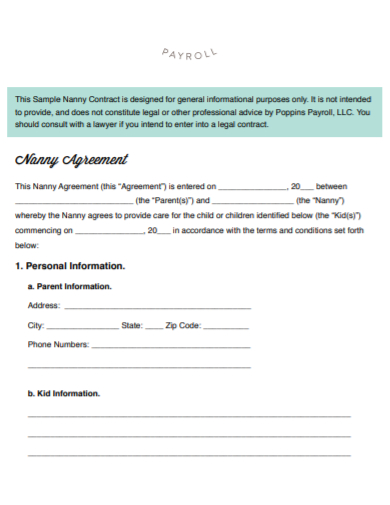
11. Nanny Agreement Payroll Receipt
A Nanny and a Babysitter Is There Any Difference?
A nanny is a person, usually, a woman, who takes good care of a child or children. This type of care is given only when the woman is with the child’s family environment. She is mostly with the family and rarely leaves the home unless the family no longer needs her service. A babysitter, however, is a short-term caretaker who is only hired to care for a child for a certain amount of time.
How Much Does a Nanny Get Paid for Taking Care of a Baby or a Child?
Statistics often show that nannies get paid by the hour, and their hourly rates may differ, but a nanny’s average pay by the hour is $ 19.00. This of course can still change due to some conditions mentioned below.
- Location
- Experience
- Education
- Responsibilities
- Availability
When the nanny is told to take care of another while she is assigned to a baby, the pay gets higher but not always doubled. This of course depends on the employer.
What Information Is Needed to Fill Up in a Nanny Receipt?
In an employer’s point of view, you are going to be filling up the necessary information.
- The employee’s complete name
Not her nickname but the complete name.
- The date you are paying the nanny.
This is important in case there are some complaints, you are able to back track to see how much was paid and how much is needed to be paid.
- Address.
- Contact details
- Amount paid
This includes the hours, and the overtime.
- Signature
If the nanny you hired is from an agency, you may fill up the following.
- Company name
- Company address
- Company contact information.
FAQs
I am a nanny currently employed in a family, I have not received my salary for over a month now and I have reminded them gently of it (I have received my previous salaries), but they refuse to pay me stating I must have got the date wrong. What should I do?
If you have received the previous ones, try checking the date. Usually your employer knows when you receive your pay and oftentimes they give it late or give it too early. Check the date.
I want my employer to send the money through the agency I work in but my employer insists on sending it to me instead. How do I tell my employer that this is the policy of the agency?
Simply tell your employer that the policy of the agency you work in only allows the salary to be sent to them. That you may give your employer the copy of your previous receipts if you have any or tell the agency of this issue and they will help you with this.
Hiring for a nanny can be tough, paying them can be confusing too. But once you got the hang of what to fill in their receipts, and how much you are willing to pay, it’s a breeze from there.