
We always get a sample receipt every time we purchase something of value in a store, mall, restaurant, and other establishments even if we did not ask for one. It is kind of annoying for us but for the store owners, it is very essential. However, on our end, having a receipt is also important.
Receipts are essential for ensuring that we have the proper goods and for verifying that a transaction has taken place. The receipt will come in handy if we need to return a damaged item. A receipt is crucial for the store’s proprietors to keep track of all their sales.
Table of Contents
- Simple Receipt Template
- Blank Receipt Template
- Receipt Format Template
- Printable Receipt Template
- Business Receipt Example
- Business Cash Receipt
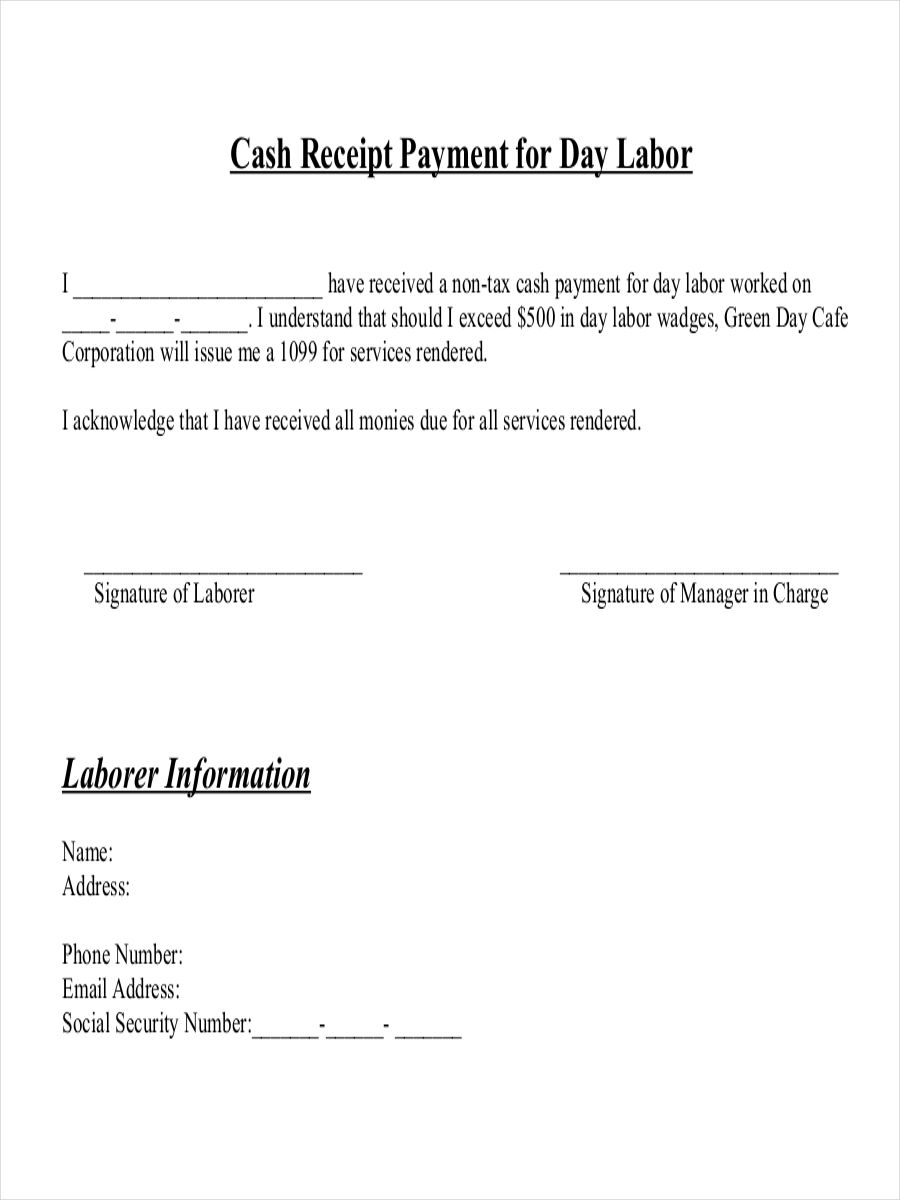
- Business Payment Receipt
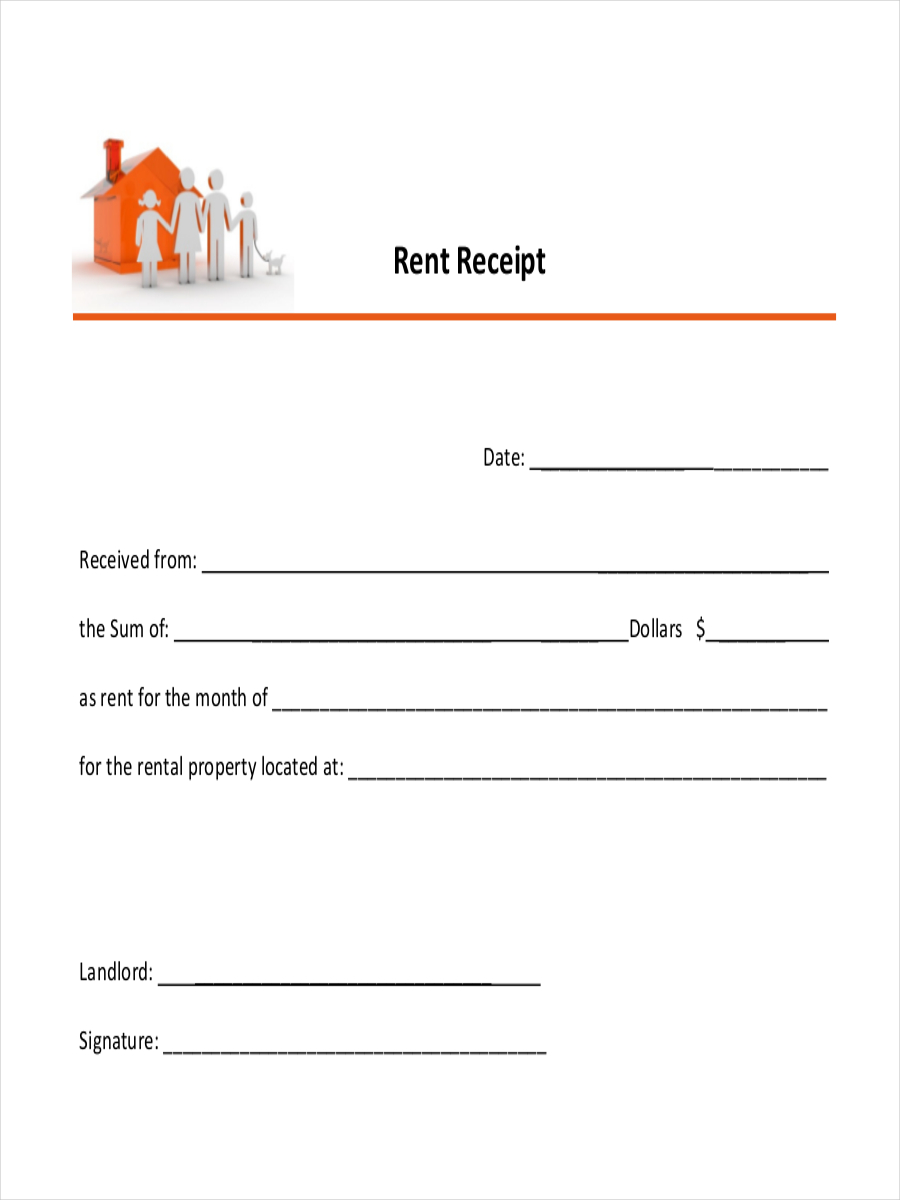
- Rent Receipt
- House Rent Receipt
- Property Rental Receipt
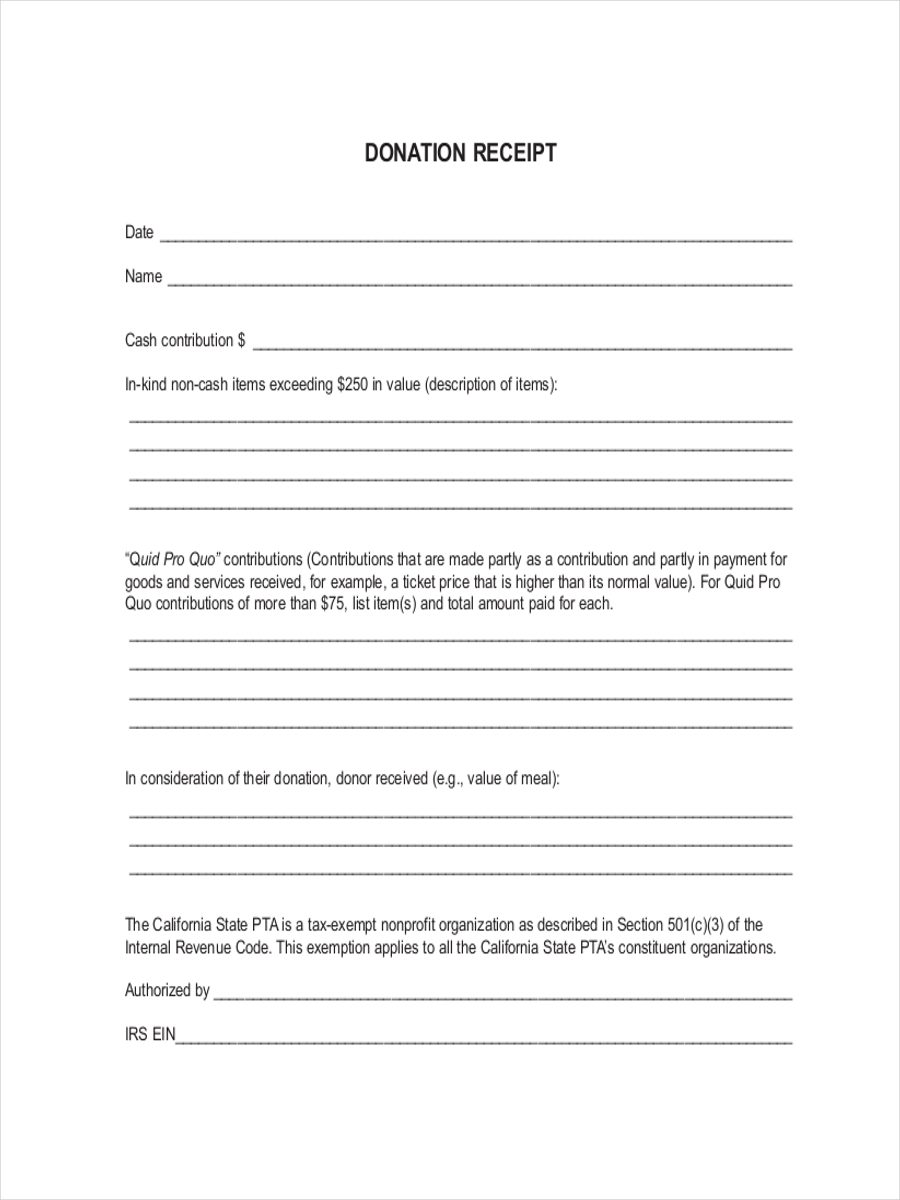
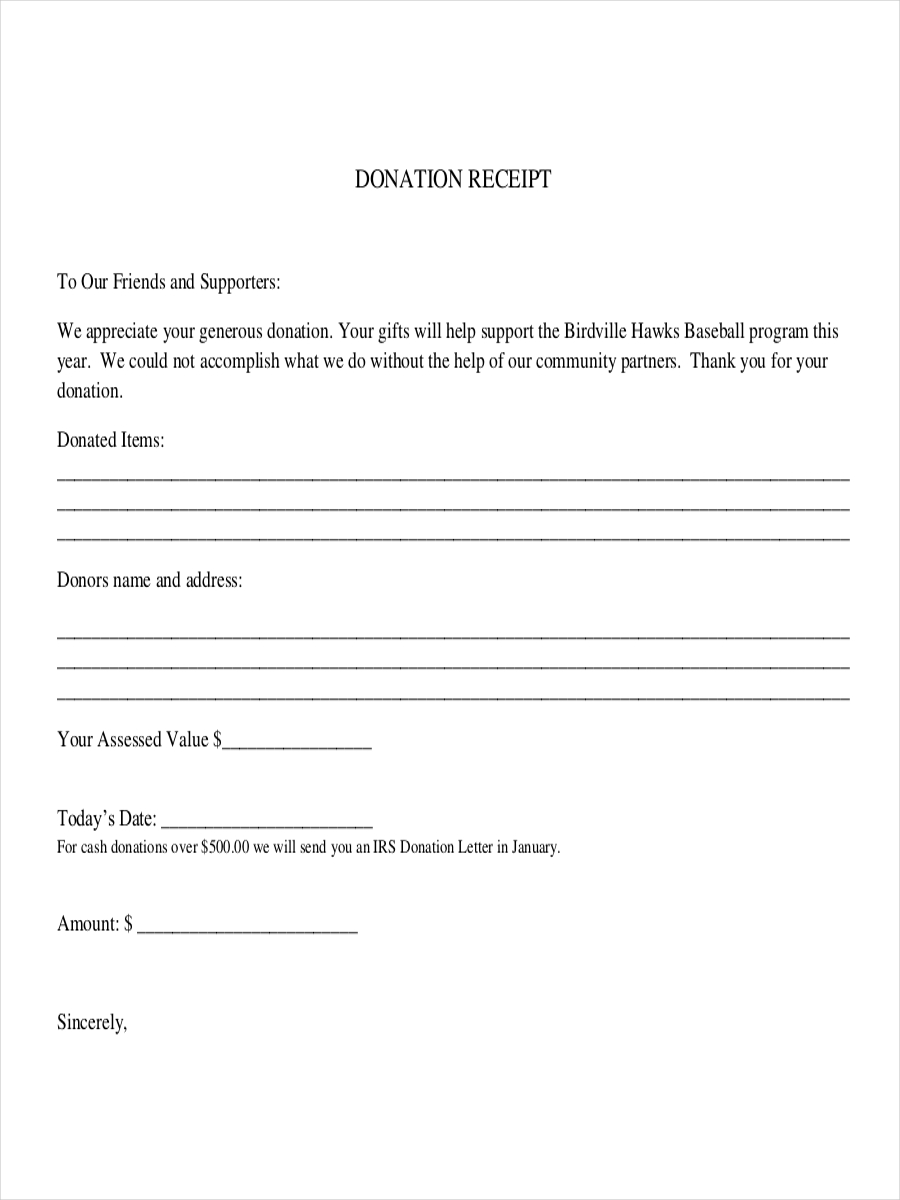
- Donation Receipt Example
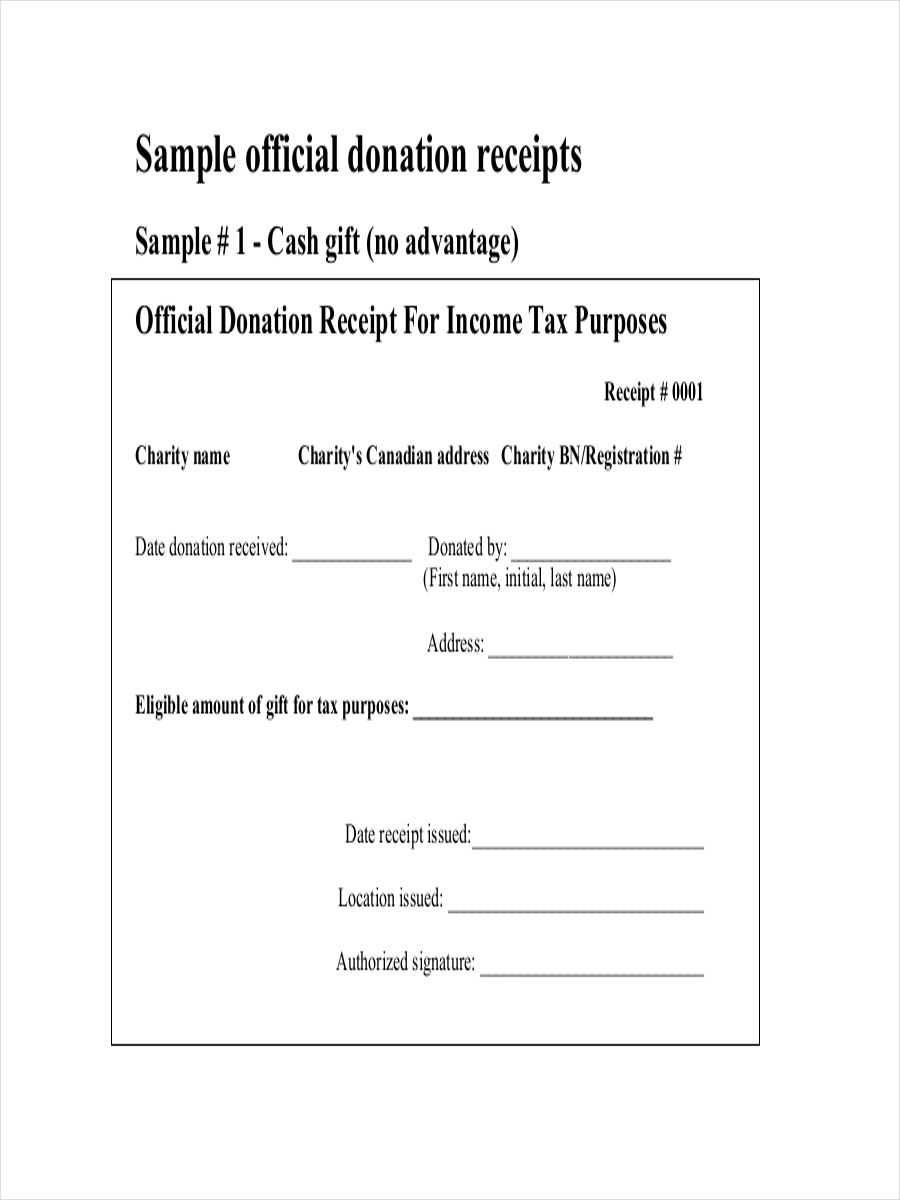
- Sample Donation Receipt
- Printable Donation Receipt
- School Donation Receipt
- Payment Receipt
- Cash Payment Receipt
- Receipt for Rent Payment
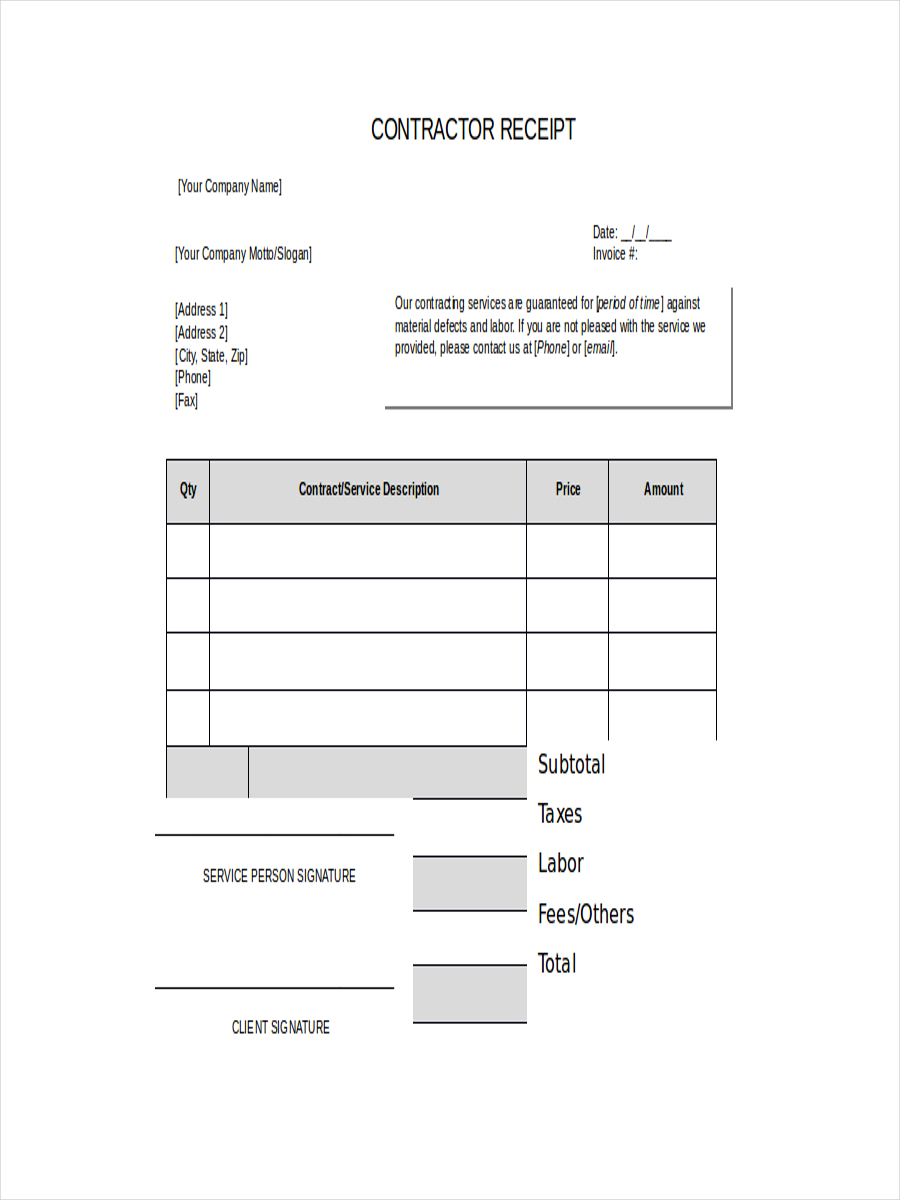
- Contractor Receipt Example
- General Contractor Receipt
- Tax Receipt
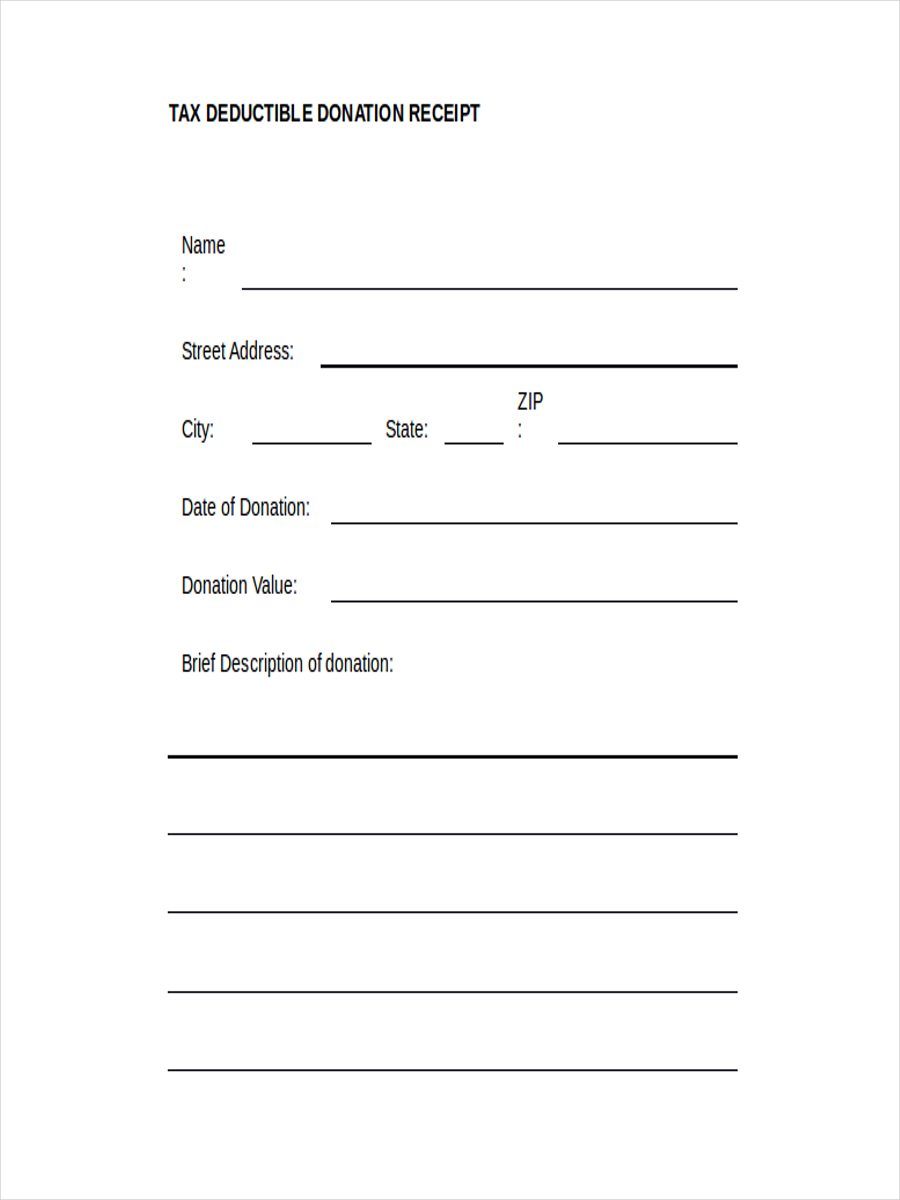
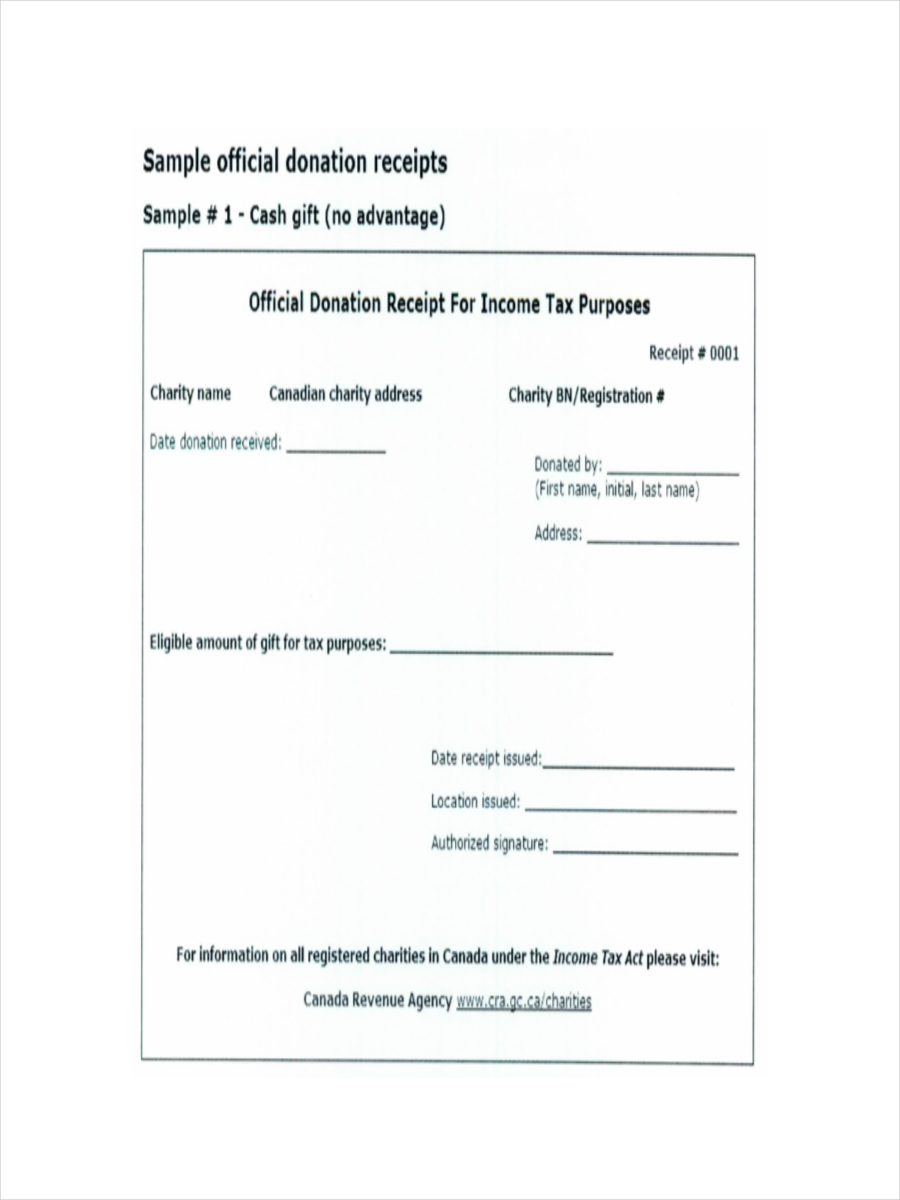
- Donation Tax Receipt
- Blank Receipt Example
- Blank Cash Receipt
- Blank Rent Receipt
- Blank Payment Receipt
- Medical Receipt
- Receipt for Medical Invoice
- Medical Supply Receipt
- Restaurant Receipt Example
- Printable Restaurant Receipt
- Sample Restaurant Receipt
- Official Receipt
- Sample Official Receipt
- Service Receipt Example
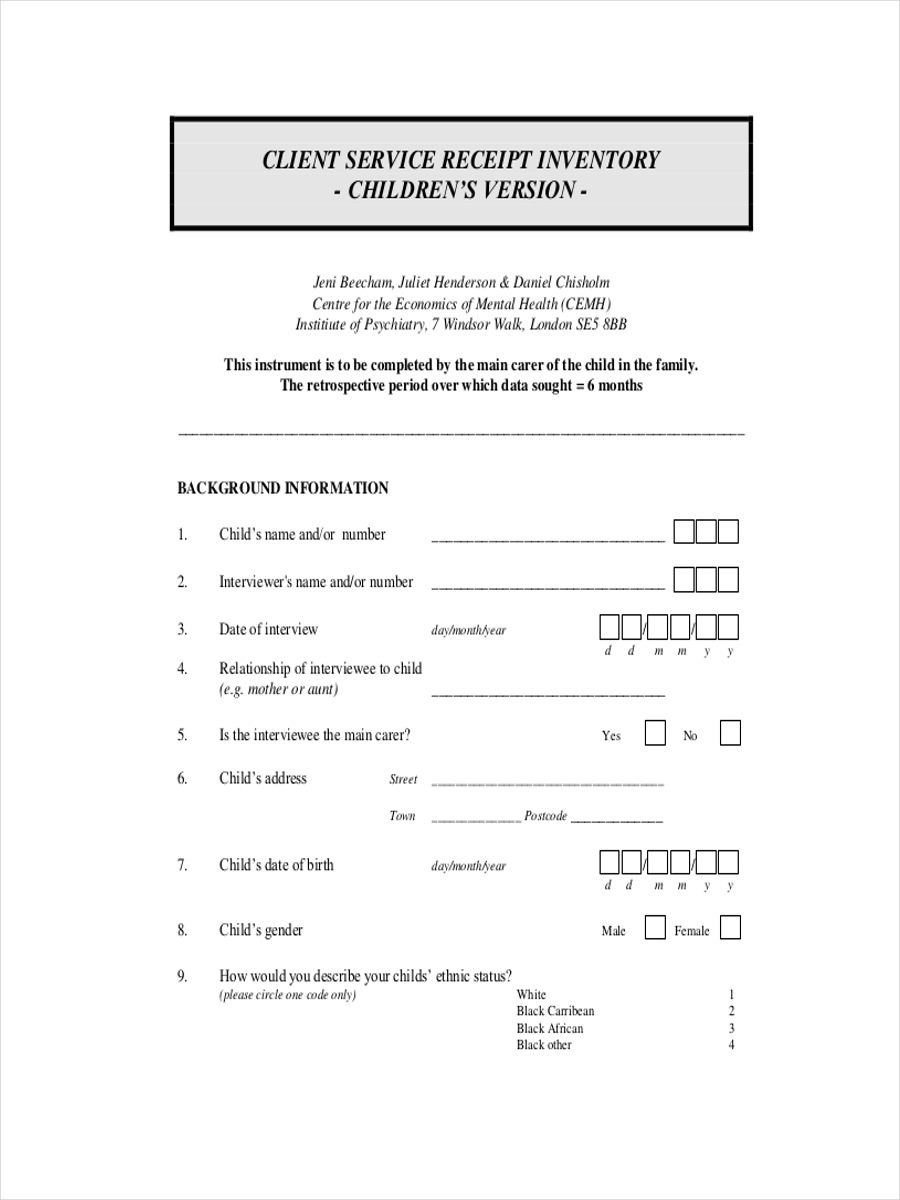
- Client Service Receipt
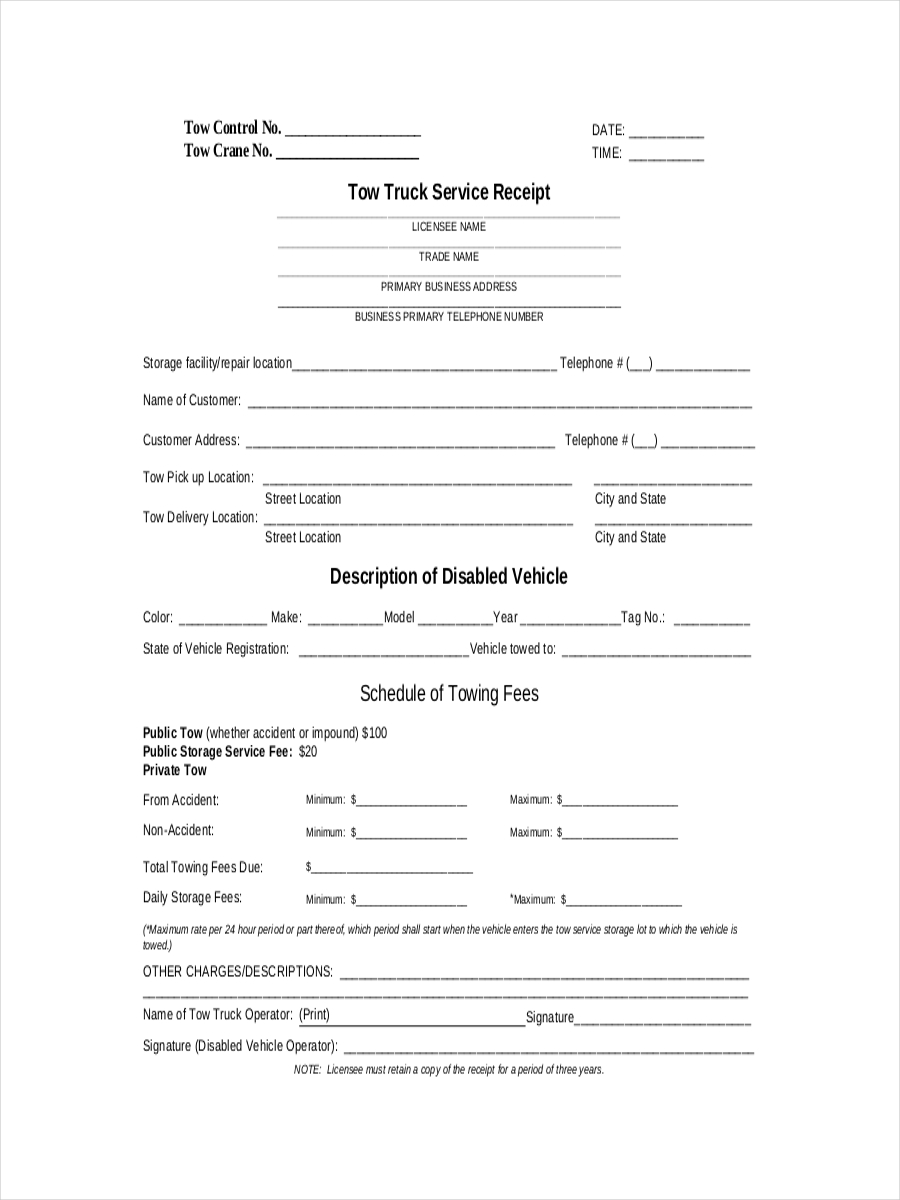
- Receipt for Truck Service
- Hourly Service Receipt
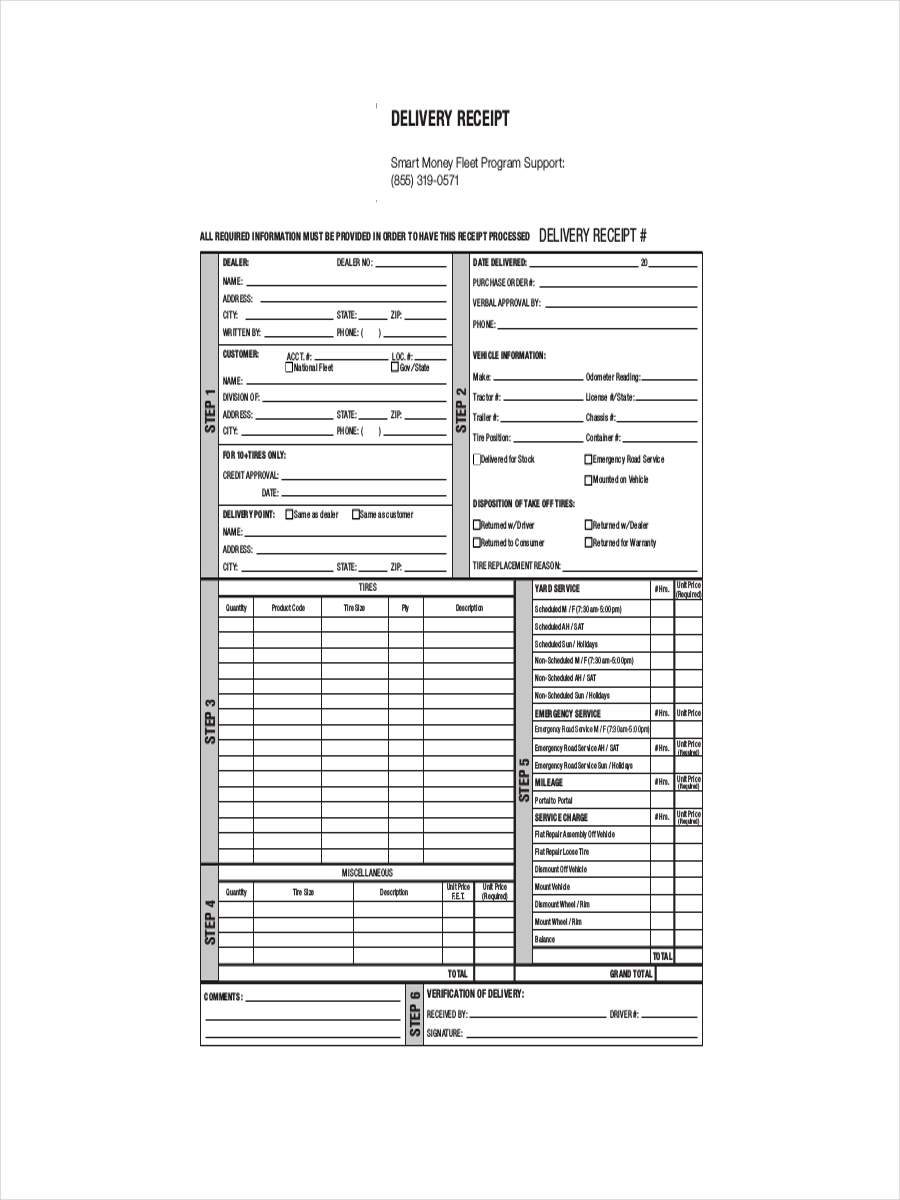
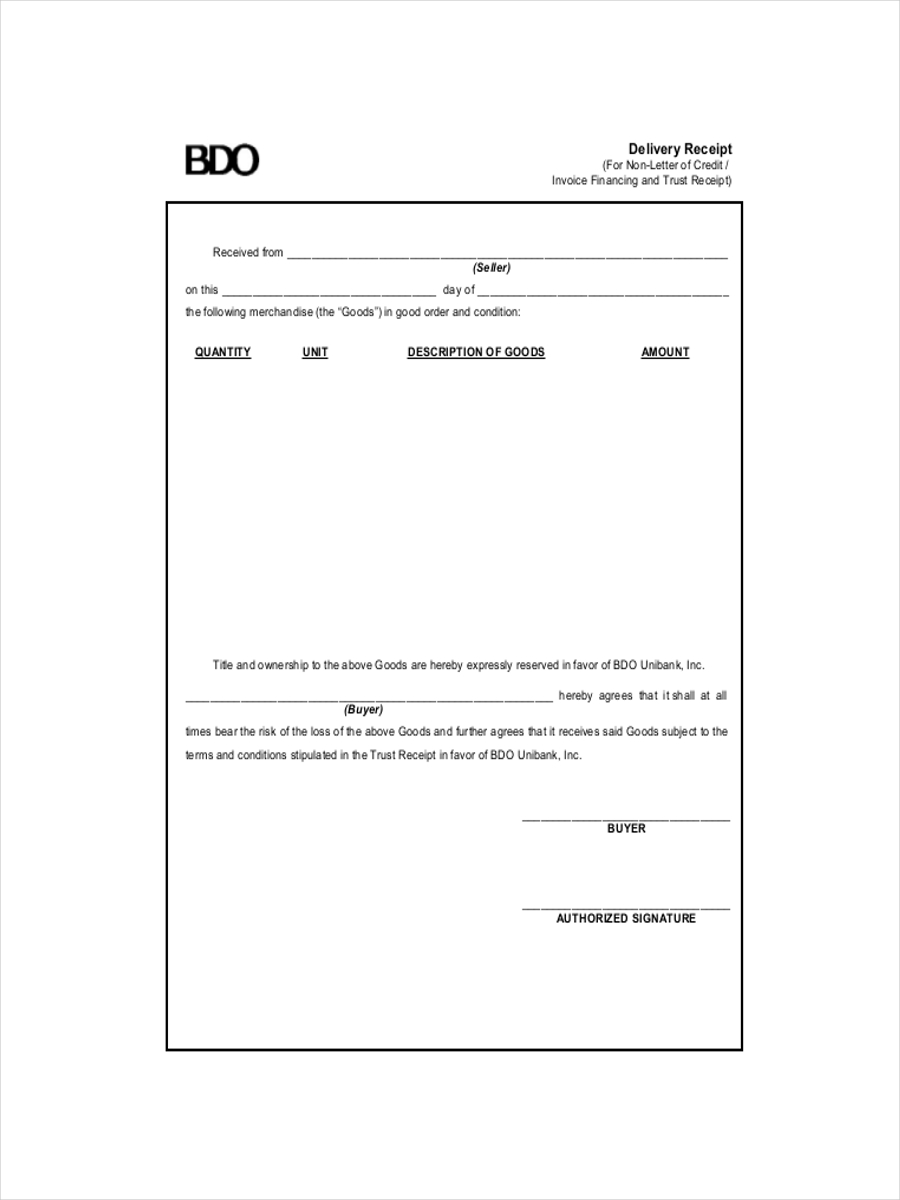
- Delivery Receipt
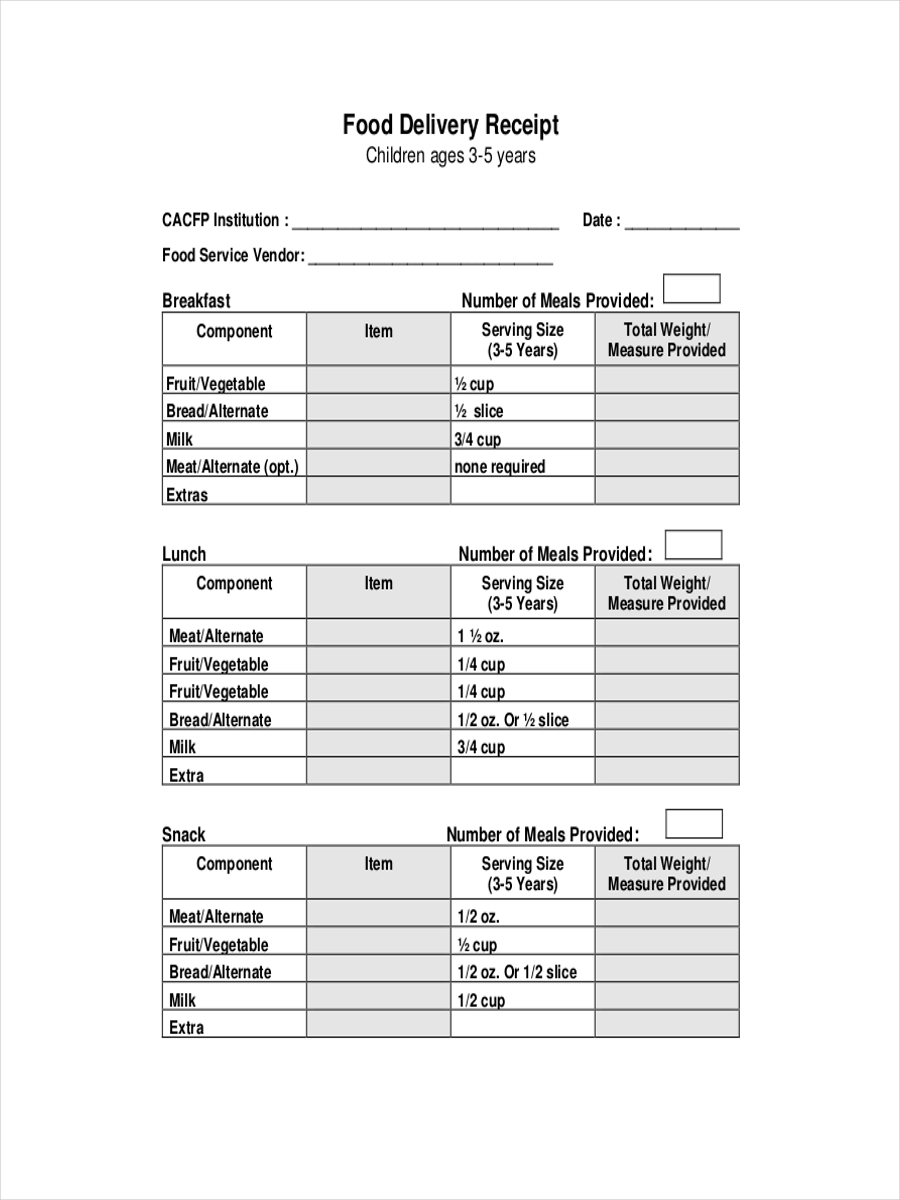
- Food Delivery Receipt
- Business Delivery Receipt
- AirCraft Delivery Receipt
- Blank Delivery Receipt
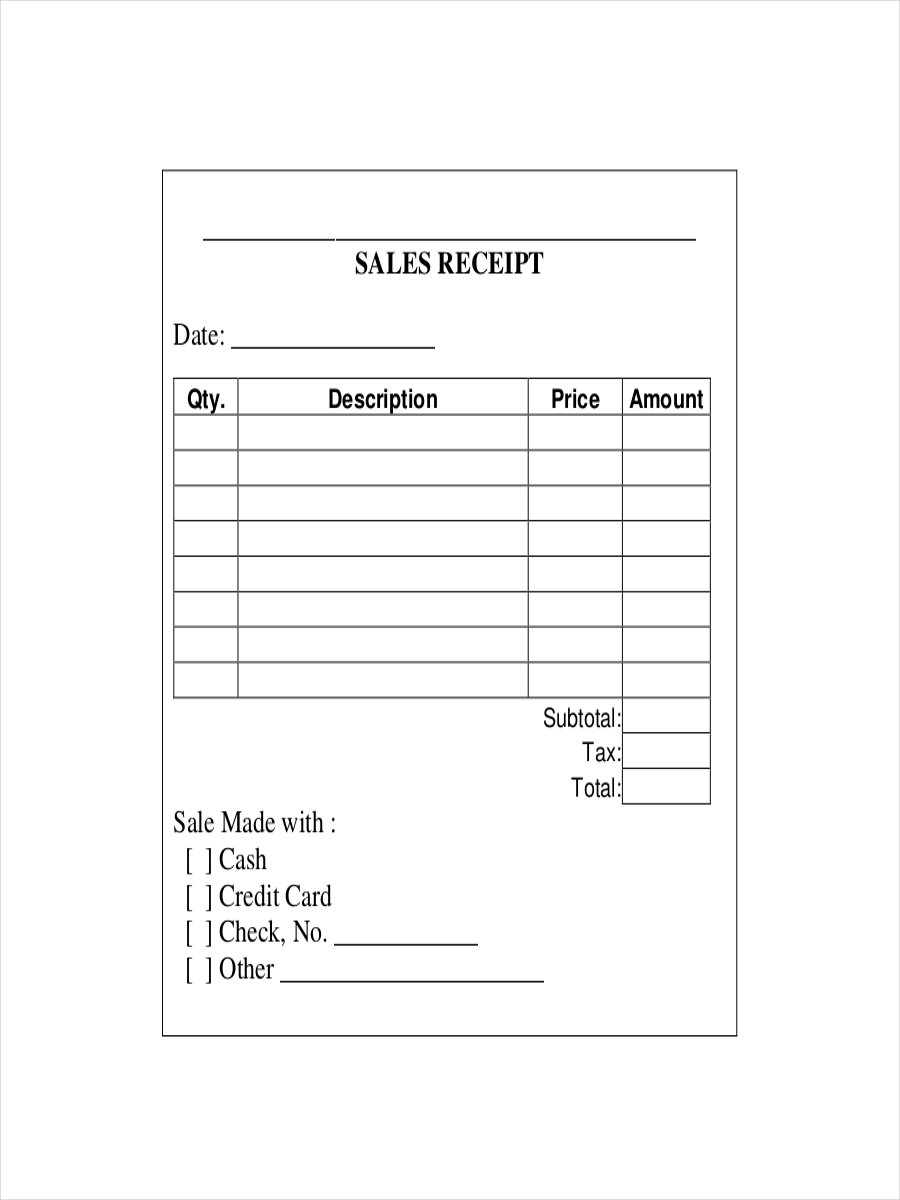
- Sales Receipt Example
- Printable Sales Receipt
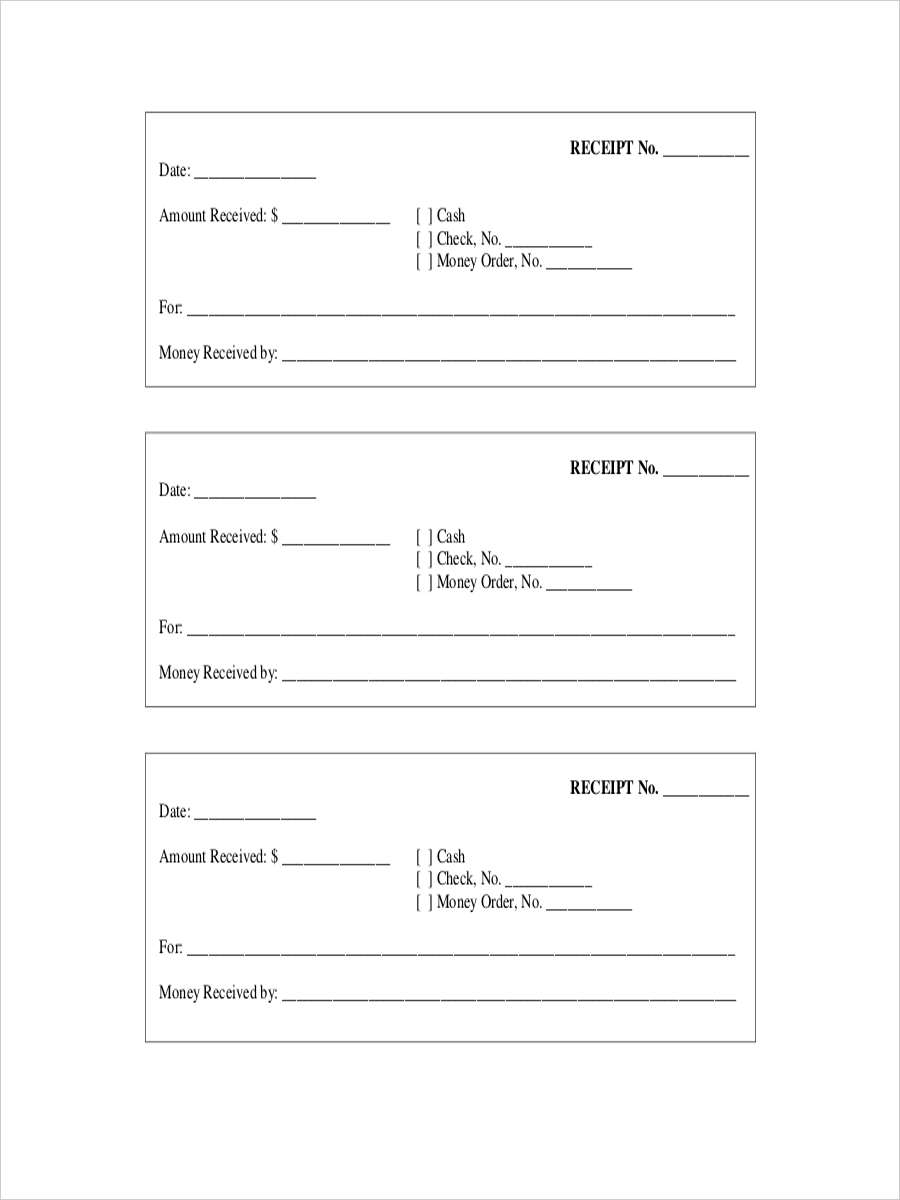
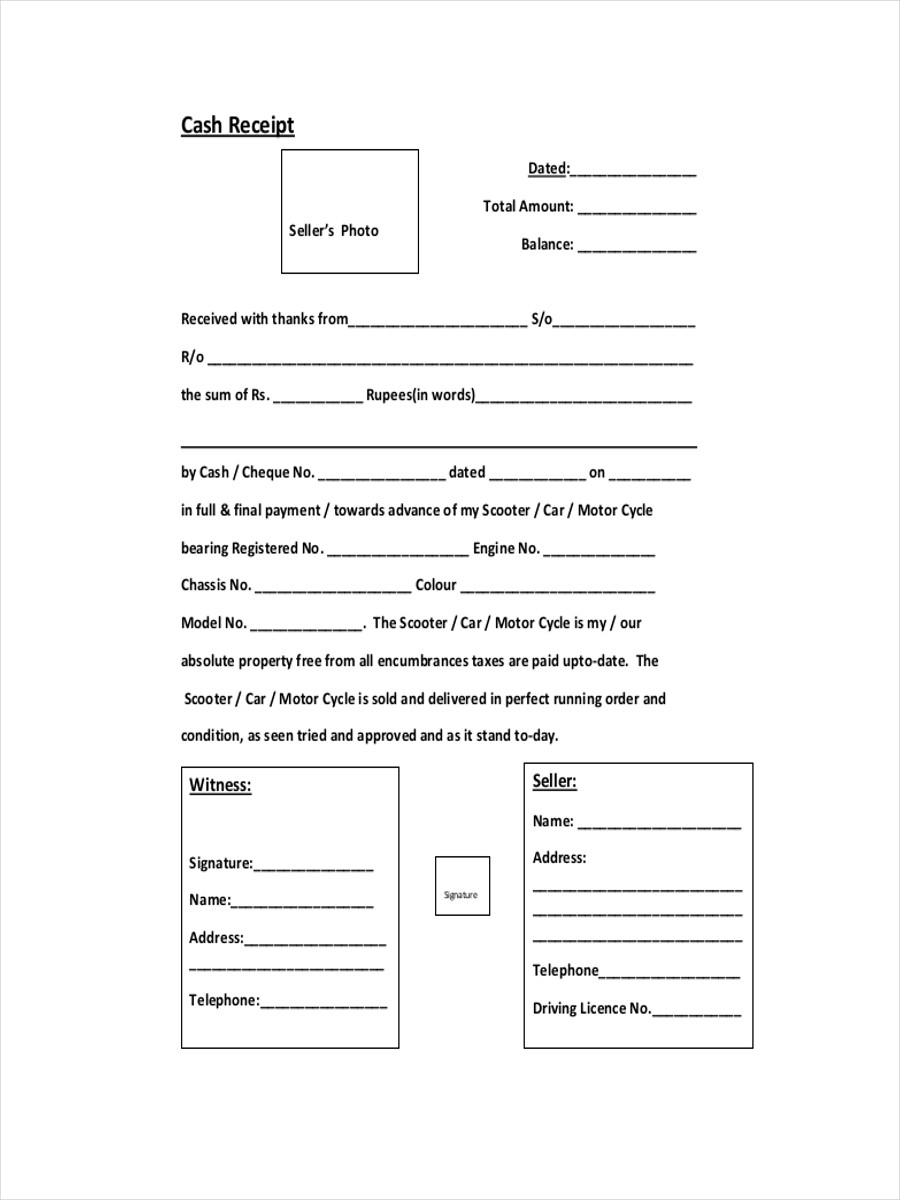
- Cash Receipt
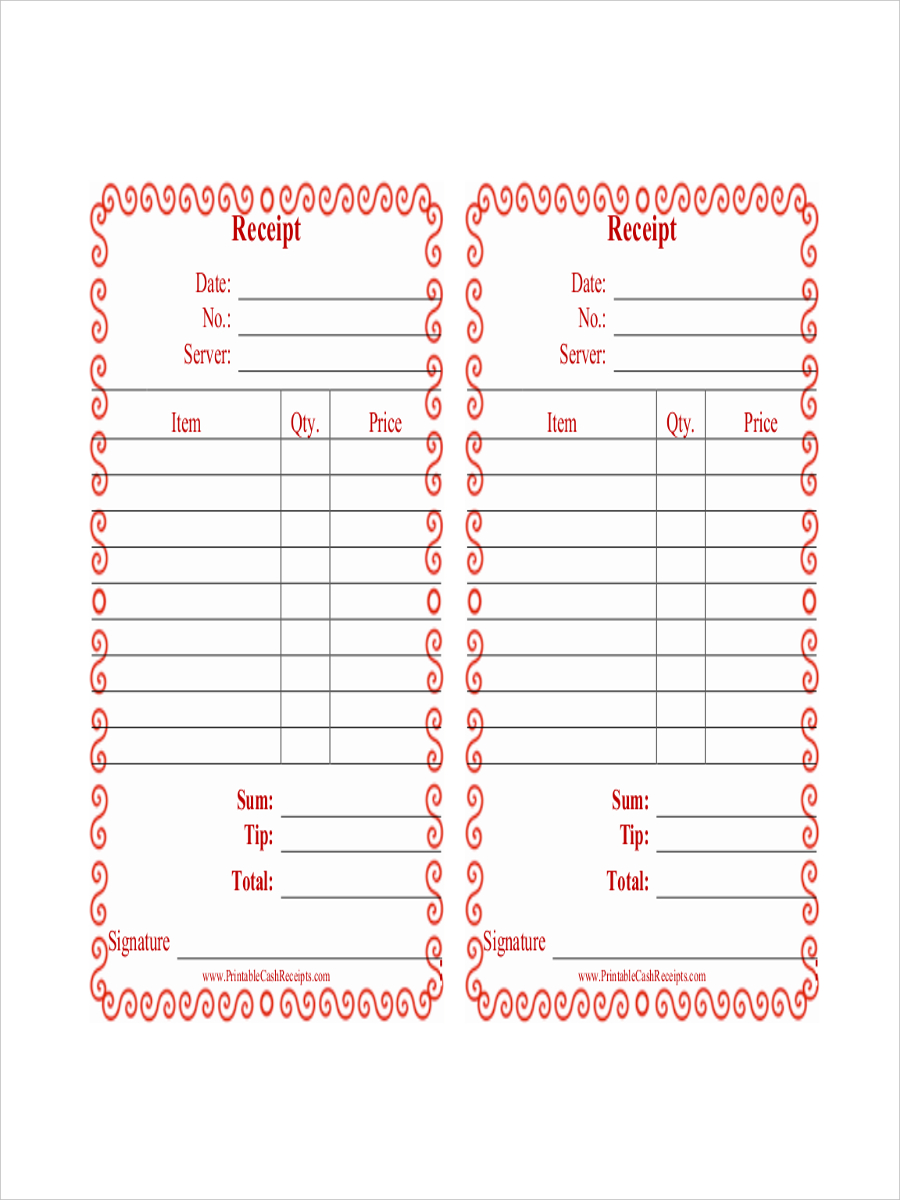
- Printable Cash Receipt
- Cash Deposit Receipt
- What Is a Receipt?
- How to Create a Receipt?
- Step 1: Gather the necessary information
- Step 2: Choose a template
- Step 3: Add your business information
- Step 4: Include the customer's information
- Step 5: List the products or services purchased
- Step 6: Calculate the total amount due
- Step 7: Provide payment information
- Step 8: Add any additional information
- Step 9: Review and print the receipt
- FAQs
- Why are receipts important?
- What information should be included on a receipt?
- Are electronic receipts (e-receipts) valid?
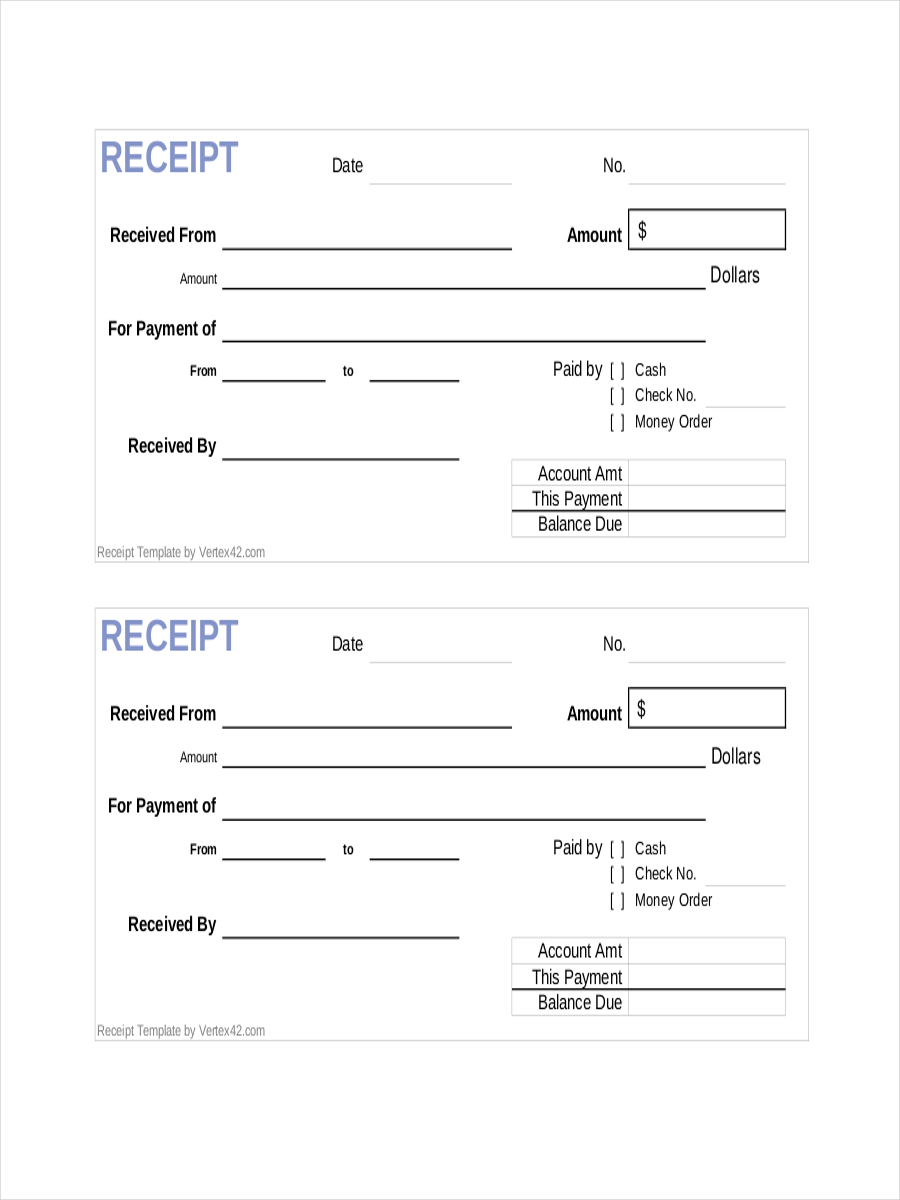
Simple Receipt Template
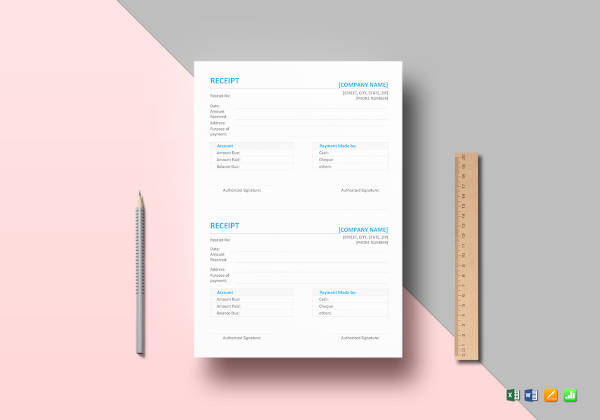
Blank Receipt Template
Receipt Format Template
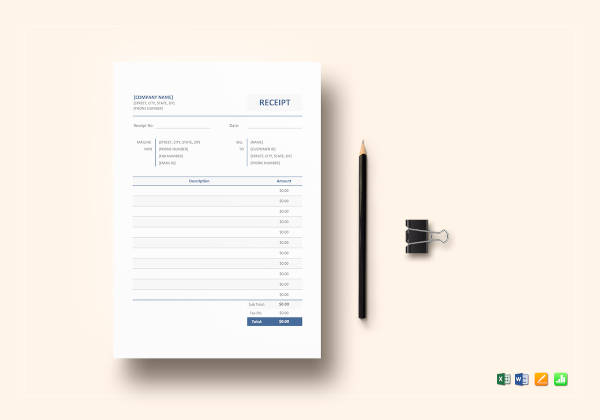
Printable Receipt Template

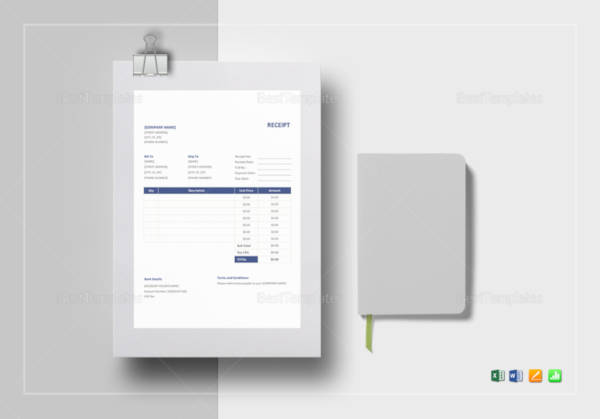
Business Receipt Example
Business Cash Receipt
Business Payment Receipt

Rent Receipt
House Rent Receipt

Property Rental Receipt
Donation Receipt Example
Sample Donation Receipt
Printable Donation Receipt
School Donation Receipt
Payment Receipt
Cash Payment Receipt
Receipt for Rent Payment

Contractor Receipt Example
General Contractor Receipt
Tax Receipt
Donation Tax Receipt
Blank Receipt Example
Blank Cash Receipt
Blank Rent Receipt

Blank Payment Receipt
Medical Receipt
Receipt for Medical Invoice

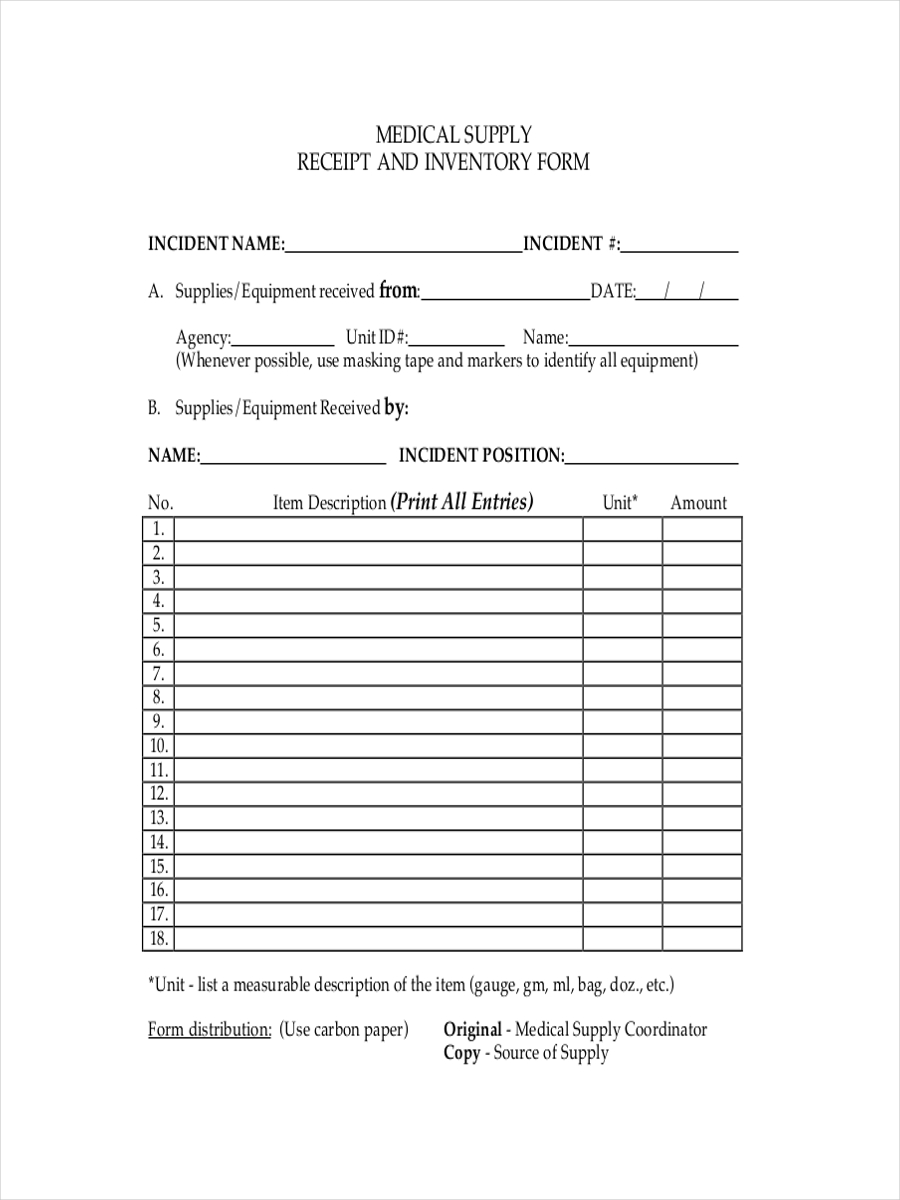
Medical Supply Receipt
Restaurant Receipt Example
Printable Restaurant Receipt
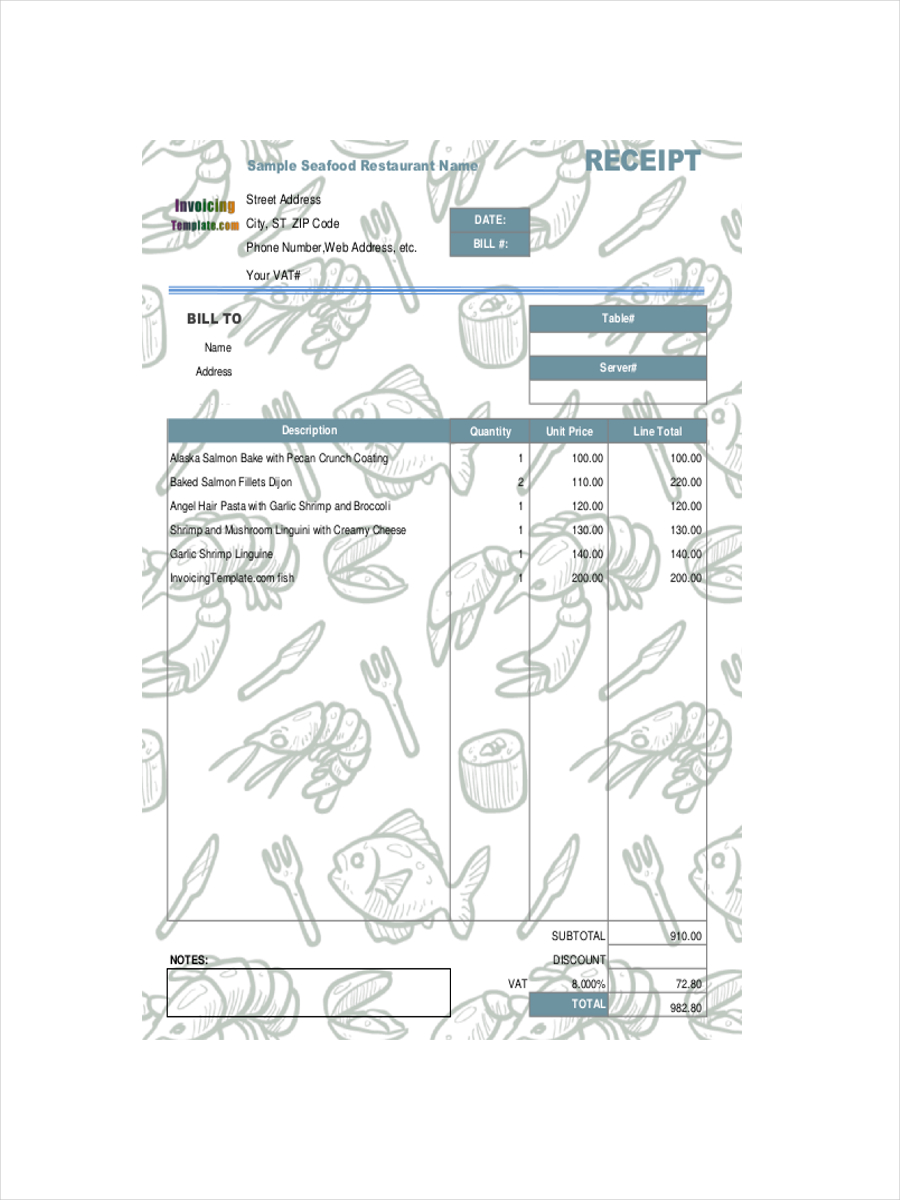
Sample Restaurant Receipt
Official Receipt
Sample Official Receipt
Service Receipt Example
Client Service Receipt
Receipt for Truck Service
Hourly Service Receipt
Delivery Receipt
Food Delivery Receipt
Business Delivery Receipt
AirCraft Delivery Receipt

Blank Delivery Receipt
Sales Receipt Example
Printable Sales Receipt
Cash Receipt
Printable Cash Receipt
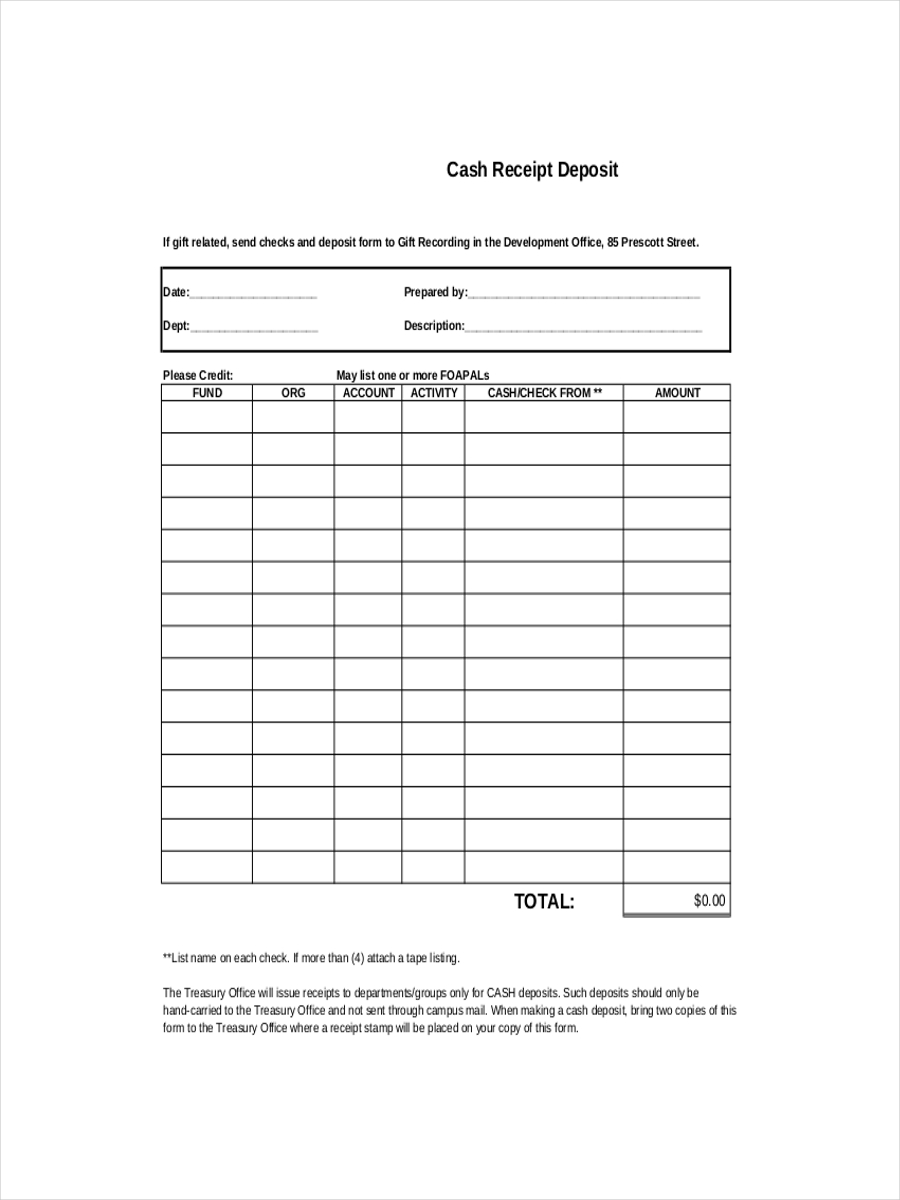
Cash Deposit Receipt
What Is a Receipt?
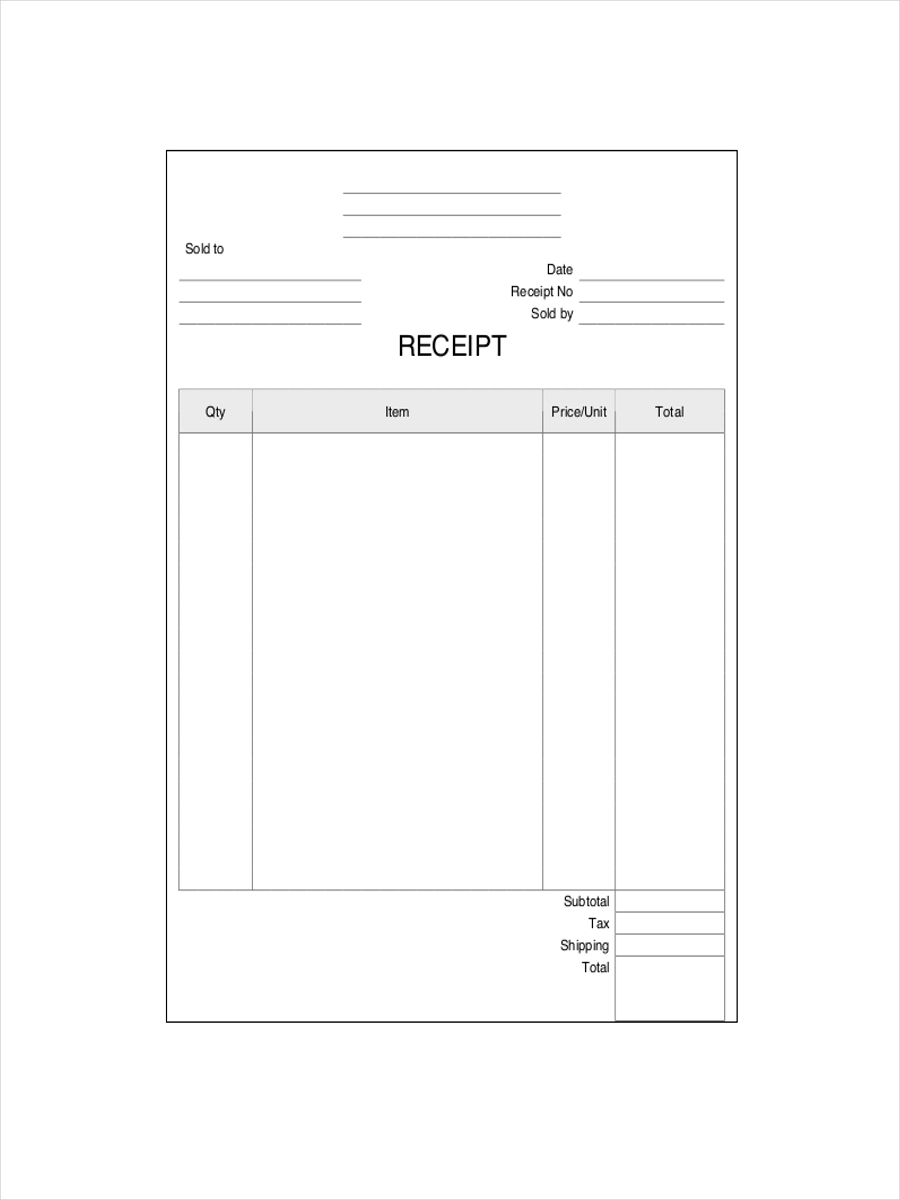
A blank receipt is a written acknowledgment that a person or a party has received something of value from another person or party. A receipt is typically given from a vendor or service provider to a customer following a sale or other transfer of goods or provision of a service. A receipt is very important as it will be used to identify and collects tax receipt from a customer and from the one who sold the goods or from the one who renders the service. A receipt can also be used as proof that may be useful when returning a damaged product.
How to Create a Receipt?
If you own any stores then you know that a receipt is very important. Here’s how to create a receipt.
Step 1: Gather the necessary information
Before creating a receipt, you need to gather all the necessary information, including the date of the transaction, the name of the customer, the products or services purchased, the price of each item, and the total amount paid.
Step 2: Choose a template
You can choose to create a receipt from scratch, or you can use a pre-designed template. Many software applications, such as Microsoft Word or Excel, offer templates that can be customized to meet your specific needs.
Step 3: Add your business information
Make sure to add your business name, address, phone number, and email address to the receipt. This will help customers reach out to you if they have any questions or concerns.
Step 4: Include the customer’s information
Add the customer’s name and address to the receipt. If you have a customer ID system, you can also add their ID number to the receipt.
Step 5: List the products or services purchased
List all the products or services purchased, along with the quantity and price of each item. Make sure to include any taxes or fees that may apply.
Step 6: Calculate the total amount due
Add up the prices of all the items, and calculate the total amount due. If there are any discounts or coupons applied, make sure to subtract them from the total.
Step 7: Provide payment information
List the payment method used by the customer, such as cash, credit card, or check. If the customer paid by credit card, make sure to include the last four digits of the card number and the expiration date.
Step 8: Add any additional information
If there are any return policies, warranties, or other important information that the customer should know, include it on the receipt.
Step 9: Review and print the receipt
Once you have entered all the necessary information, review the receipt for accuracy. Make any necessary corrections, and then print the receipt. Provide a copy to the customer, and keep a copy for your records.
FAQs
Why are receipts important?
Receipts serve as proof of purchase for customers and as a record of sales for businesses. They are important for tracking expenses, preparing taxes, and reconciling accounts.
What information should be included on a receipt?
A receipt should include the date of the transaction, the name and address of the business, the name of the customer, a list of the products or services purchased, the price of each item, any taxes or fees that apply, and the total amount paid. It may also include payment methods, return policies, mailing addresses, letter addresses, and other important information.
Are electronic receipts (e-receipts) valid?
Yes, e-receipts are valid and accepted by most businesses and financial institutions. They are often sent via email or text message and can be stored electronically for future reference.
In conclusion, receipts serve as a crucial record of financial transactions for both businesses and consumers. They contain valuable information such as the date of the transaction, the name and address of the business, the name of the customer or consumer, a list of the products or services purchased, the price of each item, any taxes or fees that apply, and the total amount paid. While electronic receipts have become more prevalent in recent years, physical receipts remain an essential aspect of financial management. Proper storage and disposal of receipts are important considerations for businesses and individuals alike.