
Traveling to a place you’ve never been to before can be an exciting experience for anyone. However, with so many things to do, getting everything done within the allotted time seems rather impossible to achieve. Hence, your best option is to fit all the necessary activities into one simple itinerary, and for an easier start, you can make use of itinerary templates to save time and effort.
Behind every Tumblr-worthy travel experience is a thoroughly planned itinerary. But considering how valuable the document can be in keeping you organized, preparing one must be done as carefully and accurately as possibly.
Key Elements of a Good Itinerary
There’s more to an itinerary than a short list of places you want to visit along with a time schedule to follow during your travels. For it to be effective, a good itinerary should also consist of the following information.
1. Program: As the most important part of your itinerary, this should cover the various activities that you will engage in during your trip. Those on a business trip might have an important meeting to attend to at five in the afternoon, while those on a holiday trip might want to visit the local museum during the said time. Be sure to conduct your own research on these items before finalizing your itinerary.
2. Timetable: There’s so many things you want to do, yet so little time to do them all. While you might not be able to do everything in one day, it wouldn’t hurt to maximize the time available by creating a timetable to record what you are going to do at a particular time. Unforeseen circumstances and emergency scenarios must also be accounted for just in case.
3. Duration: Running behind your travel schedule isn’t exactly a good thing. Because while you’re too busy enjoying one thing, you might not have enough time to experience the other. Thus, it’s important to allocate a specific time period for every stop or activity. This would depend on different factors such as waiting lines, traffic, and the activities available for you to do.
4. Destination: Perhaps you have a meeting with an agent at noon, a site visit at three thirty, a dinner party at seven, and a plane to catch at ten. All these require you to be at different places within the day. The name and address of these destinations must be noted down for reference so you could avoid any confusions or mishaps from occurring.
5. The 4 As: This is especially important for first-time travelers. It stands for attraction, accessibility, accommodation, and amenities. Before completing your itinerary, you need to consider the places you want to visit, how you could get there, where you can stay to rest or freshen up, as well as the services you can enjoy during the entire duration of your stay.
14+ Itinerary Templates
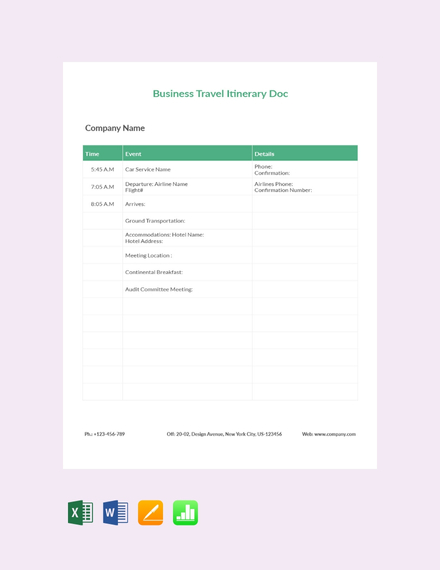
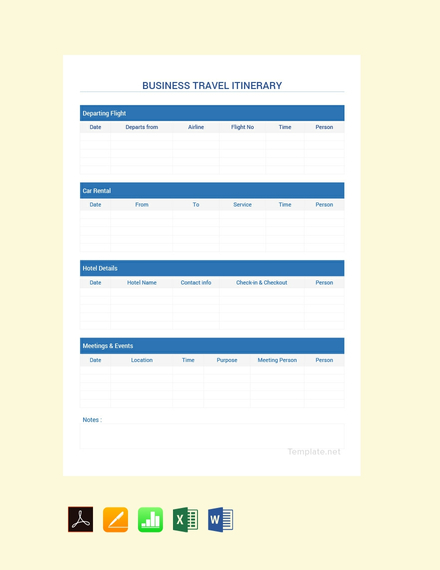
Business Travel Itinerary Document
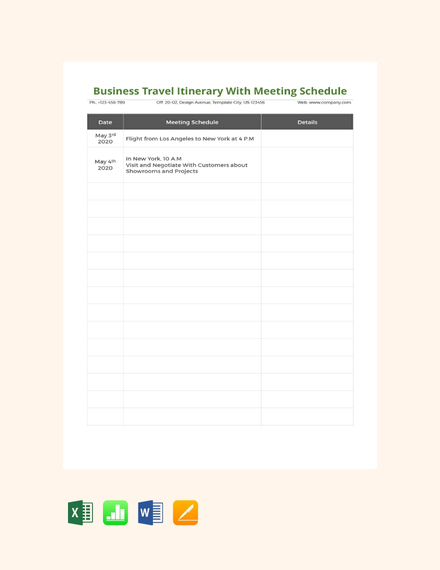
Business Travel Itinerary with Meeting Schedule
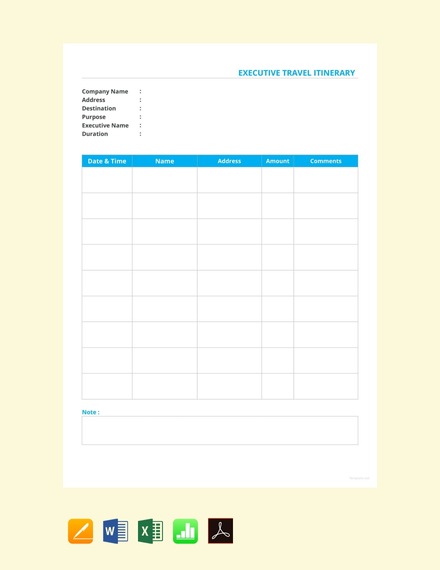
Executive Travel Itinerary Template
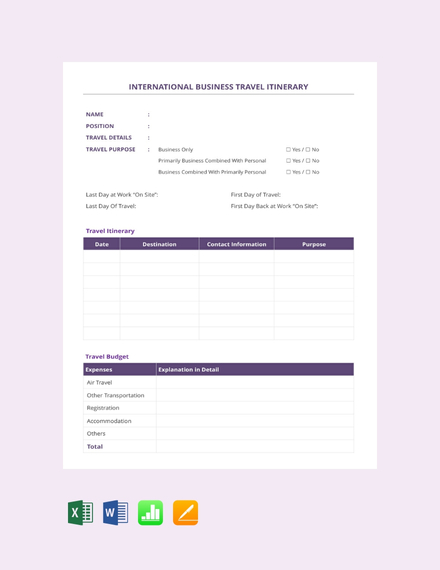
International Business Travel Itinerary
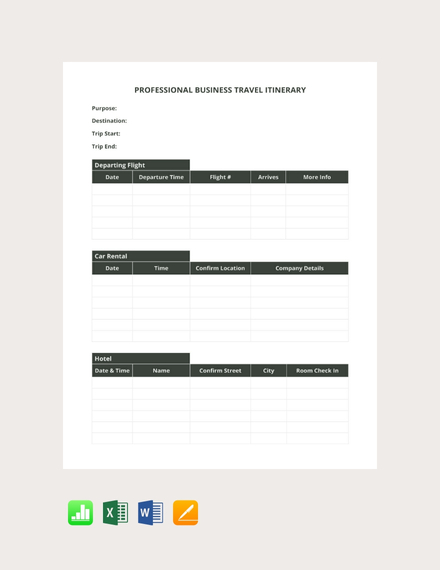
Professional Business Travel Itinerary
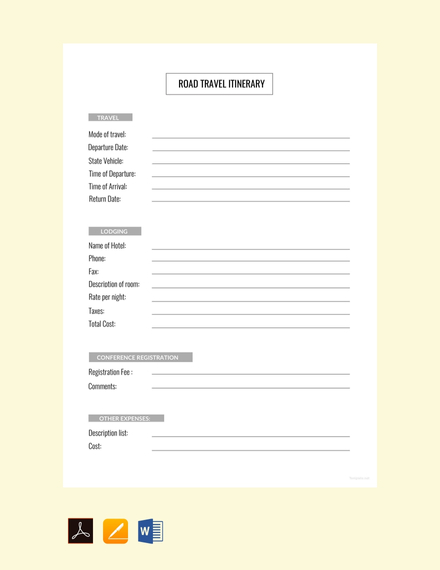
Road Trip Itinerary
Simple Business Travel Itinerary
Simple Travel Itinerary
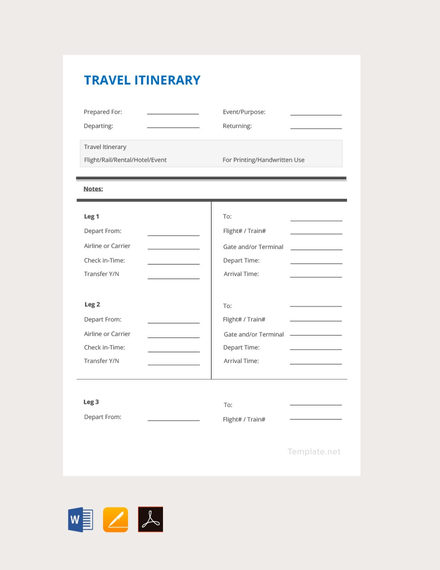
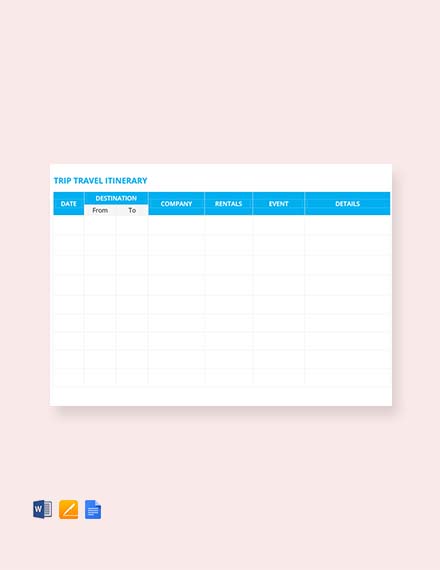
Trip Itinerary Template
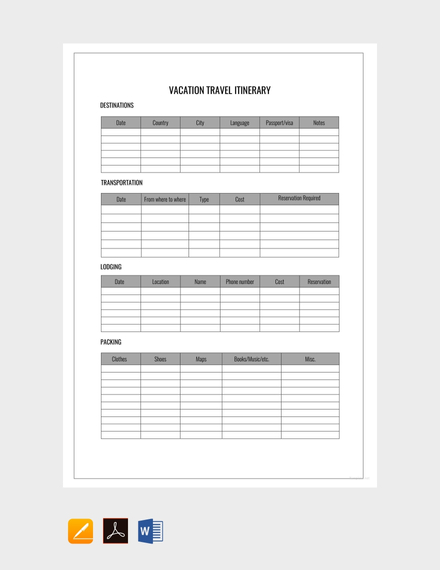
Vacation Itinerary
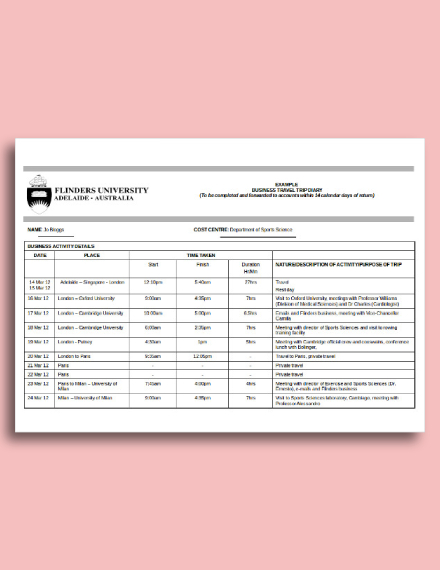
Business Travel Trip Diary Itinerary
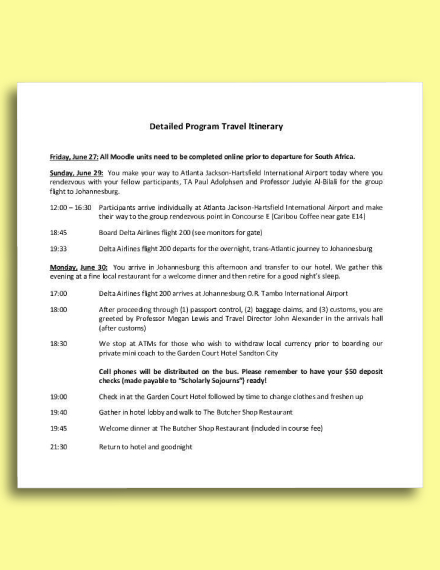
Detailed Program Travel Itinerary
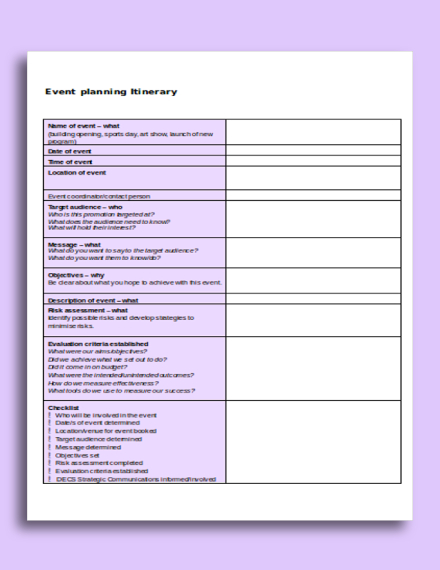
Event Planning Itinerary
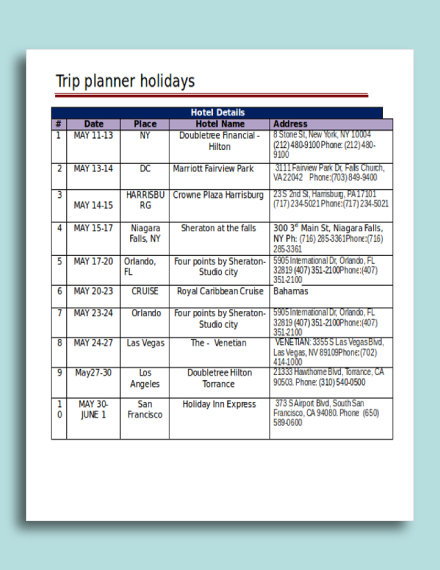
Holiday Itinerary Planner
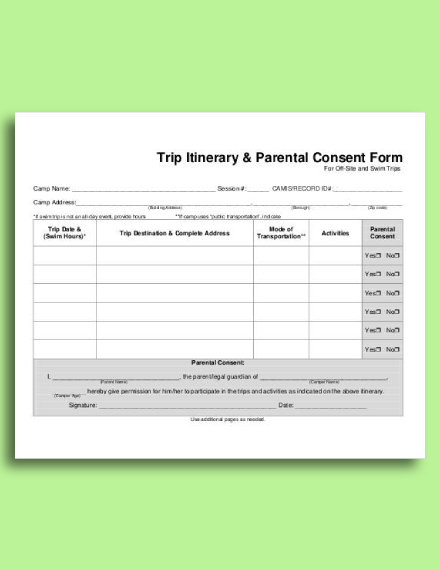
Trip Itinerary & Parental Consent Form
How to Create an Itinerary
Being spontaneous may seem like the perfect ingredient to a one-of-a-kind adventure. But then again, leaving things unplanned can often lead to disastrous outcomes. The last thing you would want to do is to waste your time and money on some cheap beer at a random club when you could be enjoying the best cocktail the city has to offer.
But the only way to make sure you don’t miss out on anything is to create an itinerary that an actual tourist would want to have.
1. Do your homework: The Internet is filled with bloggers who write articles about their travels to different parts of the world. Many of these are designed to suit your budget-friendly vacations so you wouldn’t have to feel guilty about spending more than you intended to. When researching about these places, be sure to ask yourself whether it’s something you really want to do or if it’s even worth trying. Be sure to list them down on a clean sheet of paper for later use.
2. Divide items into section: Whenever you go on a trip, be it for business or leisure, always aim for the most efficient option. Let’s say there are three activities on your main agenda. One is near the place you are staying at, the other is at a hotel which is an hour away, while the last one is only two blocks from the first item on your list. Naturally, you’d want to prioritize the nearest locations first. Dividing these activities according to a set of factors will help you maximize your day in the best way possible.
3. Create a schedule: It’s always a good idea to make a daily schedule for your entire trip. The schedule on your itinerary should cover the exact day and time of each activity. Some destinations might not be advisable to visit on certain days, especially when a crowd of locals and tourists begin filling the place during peak seasons. Make sure to refer to the information acquired from your research before plotting these activities into your schedule.
4. Finalize your plan: Review your itinerary. Any last-minute changes must be settled before the actual day of your trip to avoid further issues. You can print the itinerary on a piece of paper or download a copy of it on your phone for easy access. You might want to secure an extra copy of the itinerary for your driver, tour guide, or hotel staff to use as well.
Tips for Developing the Perfect Itinerary
Now that we’ve established how itineraries are made, let’s discuss how you can improve your itinerary with the guidelines provided below.
- Keep your content organized: Using a table for your itinerary is a great way to separate items and highlight information. This will make it a lot easier for people to read and grasp each item included in the itinerary as well.
- Make it short and specific: Nobody has the time and patience to read a lengthy itinerary. When you’re in a hurry, skimming through the document is the only way to go. Thus, you need to make it easy for readers to find what they’re looking for by keeping your text elements brief and to the point. Avoid including anything unnecessary to the document to make room for comments and remarks that may be added later on.
- Be realistic: As much as you want to accomplish everything in one day, you still need to be practical with your decisions. It’s physically impossible to have one activity just thirty minutes after another one ends, given how the latter is miles away from your next stop. Avoid making this mistake by setting proper intervals between each.
- Prepare for unexpected events: No matter how hard you work to stay on schedule, you’re bound to get sidetracked one way or another. This isn’t always a bad thing, considering how it does give you more time to explore and live in the moment. However, it also requires you to make a few changes to your itinerary. Thus, adding a time allowance to your plans may come in handy.
- Take advantage of “free time”: Your flight is in the afternoon, which leaves you with some extra time to spare for other activities. Since you might not have enough time to visit another attraction in the city, perhaps you can use this as an opportunity to explore a few stores, restaurants, or parks nearby. This definitely beats staying in the hotel room or sitting in the airport lobby until boarding time comes.
Types of Itineraries
An itinerary can function in different ways, whether it’s for personal or professional use. Listed below are the three types of itineraries you’re likely to encounter:
1. Business Itinerary: Companies often send their employees on business trips to meet with clients, investors, or other members of the organization. When this happens, the selected individuals are given an itinerary to keep them on the right track. The document contains a basic outline of the trip that employees must follow during the entire duration of their assignment.
2. Tourist Itinerary: This is usually created and provided by a tour company for clients to refer to during their trip. Since most tours are conducted in groups, sticking to the exact schedule indicated in the itinerary is crucial; otherwise, you may be accountable for holding the entire group back from what you’re supposed to accomplish within the day.
3. Tour Conductor or Manager’s Itinerary: In addition to the time and activity schedules reflected on the tourist’s itinerary, a tour manager’s itinerary should also have a copy of each client’s travel arrangements. This includes details of their flights, contact information, and the number of people associated with the tour package. Other tour-related formalities must also be specified clearly in the document.
Itinerary FAQs
What is a tour itinerary?
A tour itinerary refers to a tourist route which covers visits to different historical sites, places of cultural interest, or other attractions that the average tourist might be interested in. These may be created by a tour agency as per a client’s request or by the tourists themselves.
What is the purpose of an itinerary?
An itinerary functions as a detailed plan for a journey, including a list of places to visit and activities to do. In most cases, lodging, flight, and tour details are noted down in the itinerary to keep you guided throughout your trip. That way, you can make the most out of your time in a foreign city without worrying about getting lost or running far behind your original schedule.
How do I plan a trip itinerary?
Planning a trip can be stressful and overwhelming for most travelers. Fortunately, you can make it less daunting with the help of the right approach. Start with a pen and paper to set the time frame for your trip. That way, you can narrow down the places you want to go and allocate them among these dates. Be sure to indicate important areas that need to be prioritized along with a proposed budget for reach tour day.
So what are you waiting for? Achieve your travel goals today with the help of these itinerary templates and examples!