Giving gifts is a symbol of affection. It has become quite a tradition to give people you love gifts or presents during special occasions and holidays. With this, it is also important that you include an indicator to whom the gift is for. This is where gift tags come in handy, they add a personal touch and ensure your presents are properly labeled. To make the process even easier and more creative, you can use customizable gift tag templates, which allow you to design unique and thoughtful gift tags for every occasion.
A gift tag allows you to indicate who the gift is for, who it is from, and a short message or greeting. Aside from that, it ties up your gift perfectly in terms of aesthetics.
Elements of a Gift Tag
Since a gift tag is necessary to put in a gift, you must know what are the essential elements to include should you decide to make your own. With that said, here is a list of the elements that should be present in a gift tag:
- Design and layout: Depending on the occasion when the gift will be given, the design and layout of the tag should be appropriate or in line with the occasion it is being used for.
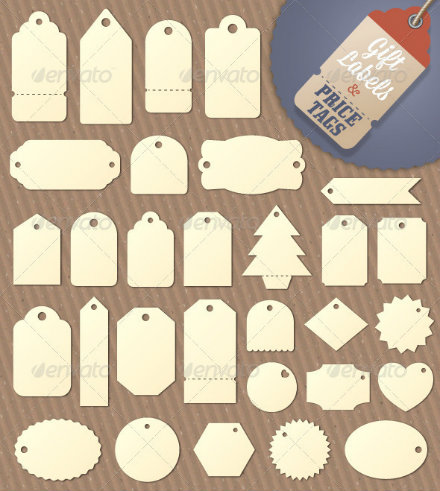
- Shape and size: There is really no standard shape for a gift tag, just choose which you think is appropriate for the your gift in terms of wrapper, shape, and size. The size can also be what complements your gift best.
- Texts: There should be an indicator as to who the gift is for and who it is from. Therefore, include a “to” and “from” label in your gift tag. You can also add a greeting, message, or a quote on your gift tag to tie it all up.
- Punch hole and thread: This may seem irrelevant, but a gift tag is not a tag without a hole where you can put a thread to tie. Since it is a tag, it needs to be tied to the gift.
10+ Gift Tag Template
Simple Gift Tag
Custom Birdie Gift Tag

Birthday Gift Tag Template

Cute Gift Tag
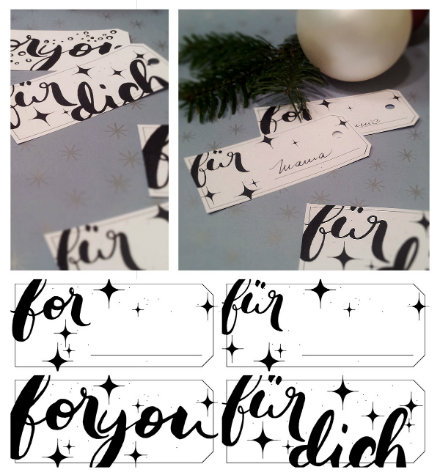
Black and White Gift Tag

Freebie Gift Tag
Template Details
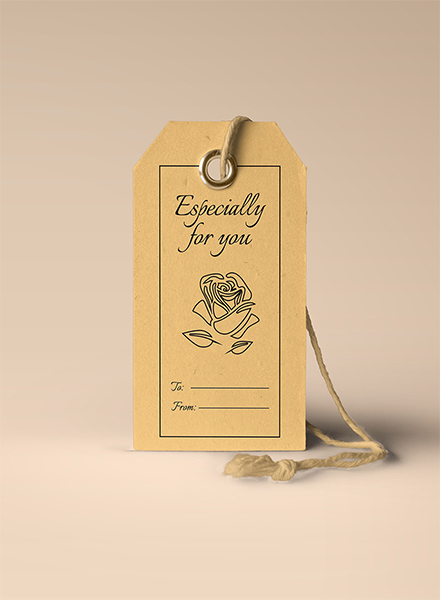
Floral Gift Tag
Blank Gift Tag Design
Template Details
Teacher Thank You Gift Tag

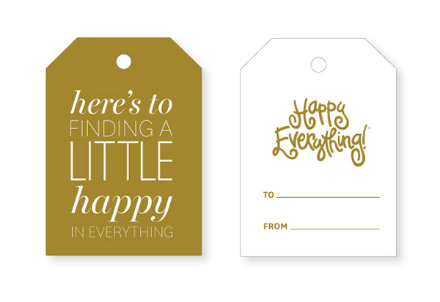
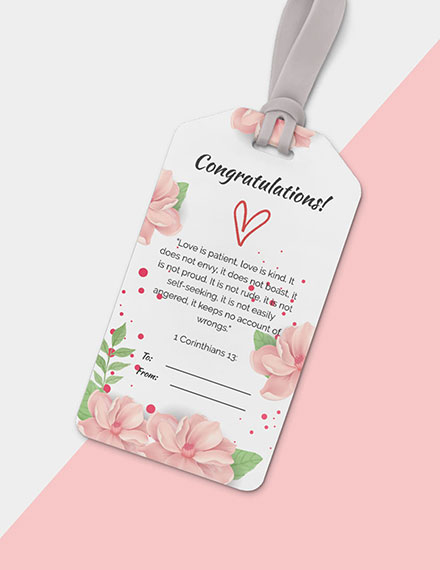
Congratulatory Gift Tag

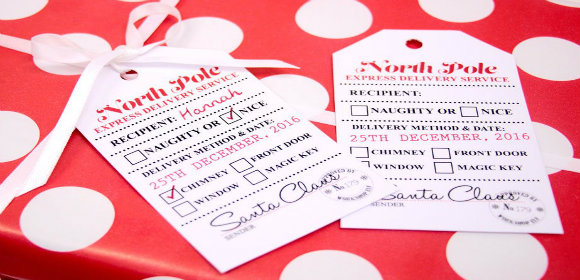
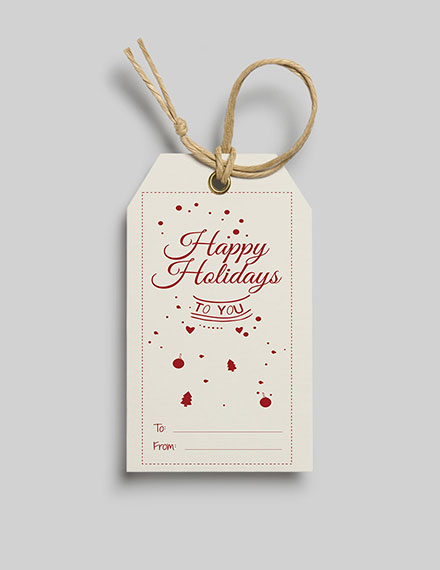
Holiday Gift Tag
10+ Gift Tag Examples
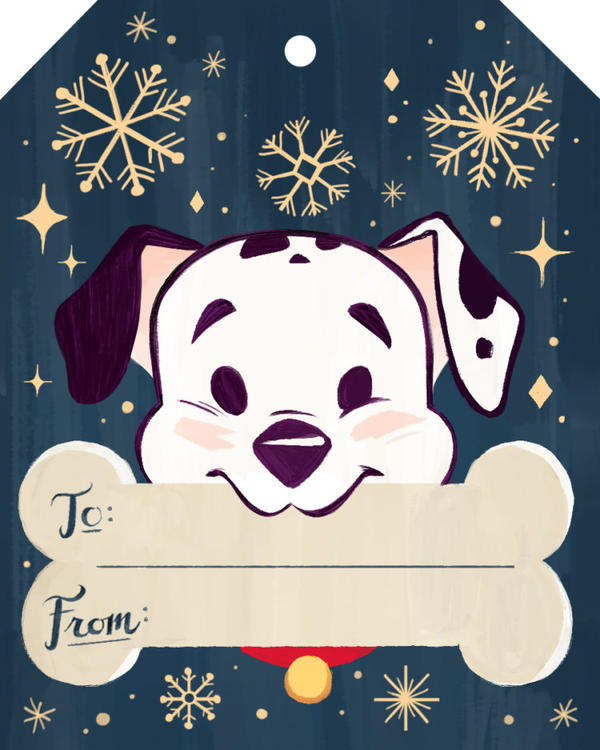
101 Dalmatians Gift Tag
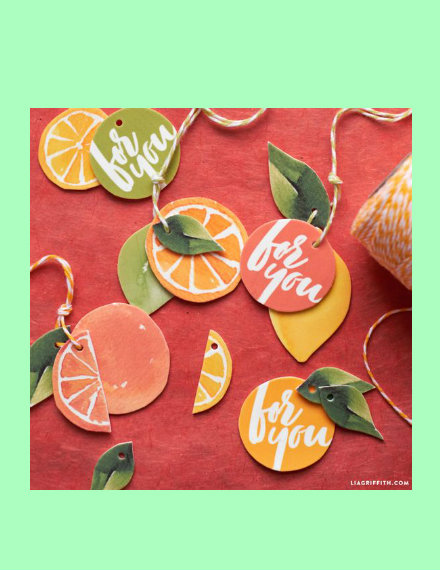
Citrus Gift Tag
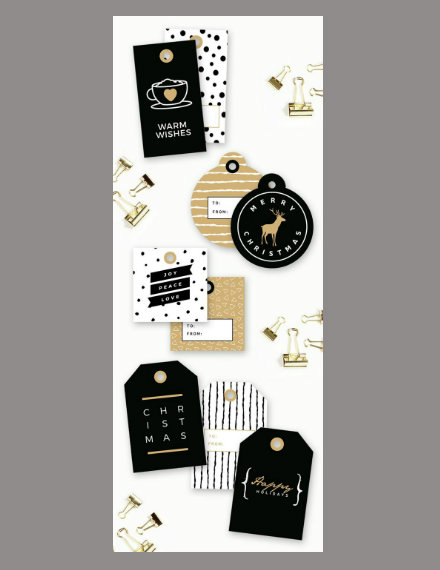
Printable Holiday Gift Tag
Father’s Day Gift Tag

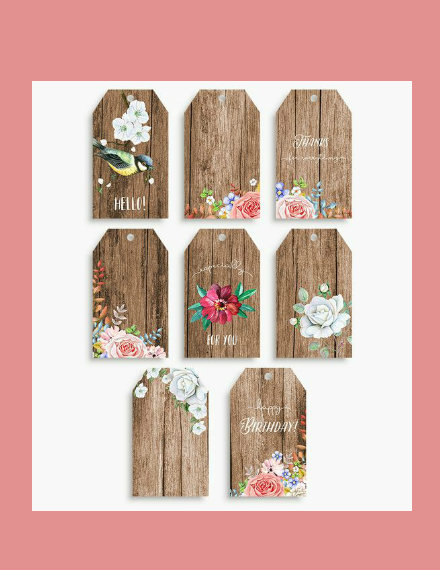
Rustic Wood Gift Tags Example
Handmade Fabric Gift Tags Sample

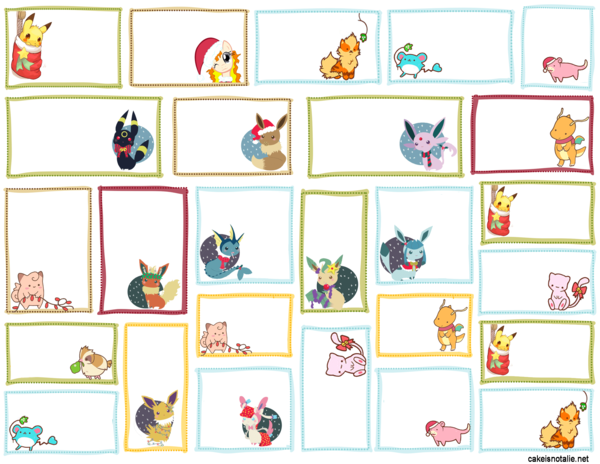
Printable Pokèmon Holiday Gift Tag Designs
Bubbly New Years’ Gift Tags

Gold and Copper Leaf Hexagon Gift Tags

Steps in Creating a Gift Tag
A gift tag can be used for various occasions and reasons; therefore, it is always handy to know how to make them on your own. Here is a quick and easy guide on how you can DIY a gift tag on a card stock:
1. Make a Patterned Piece
Use a 8 1/2″ × 11” sheet of blank card stock and a 2″ × 2″ piece of patterned card stock. The patterned card stock can be store-bought or personally printed; just make sure the one you choose has an adhesive on the back side.
2. Attach the Patterned Piece
Since your patterned piece has adhesive, attach your 2″ × 2″ piece of patterned card stock onto the bigger card stock piece.
3. Trim the Gift Tag From the Card Stock
Depending on the size you want your gift tag to be, trace out the size onto the card stock. Using a ruler, cut the card stock following the line you have traced out. Make sure you use the side where you adhered your patterned paper to.
4. Making the Tab
The tab of your gift tag is part of the design that will hold down the message strip. To make it, find the center of your patterned paper and punch a U-shaped hole in it using a leather punch. If a leather punch is not available, you can make use of cutting tool you have, just make sure the hole is cut all the way through.
5. Folding the Tag
This time, fold the blank section of your tag to fit it directly under the tab you have made beforehand. The tab basically holds the fold where you can write a message on your tag.
6. Attaching the Ribbon or Thread
Lastly, you need to tie the tag on the gift you wish to use it for. Punch a hole where you can attach a thread to tie the tag with. It is preferable to use a hole puncher with a smaller size.
Tips in Designing a Gift Tag
Aside from the gift itself, the gift tag is an effective way for you to show your affection to the person you’re giving a gift to. It also allows you to explicitly address the receiver of your gift. Aside from its practical purpose, a gift tag also perfectly ties everything up aesthetically. Here are some additional tips in designing a gift tag:
- Be creative.
- Be sure your design or illustration relates to the occasion.
- Try out new design layouts, shapes, and sizes.
- Allot a space where you can write a short message.
- Don’t forget spaces for the “to” and “from” section.
- Make sure you punch a hole for the thread.
- Simple does not mean boring; gift tags with only the “to” and “from” section with a greeting in between is still a great gift tag.
- You can add ornaments to your gift tag when tied to the gift.
How to Create Gift Tags in Word
Here is a short and easy guide on how you can make a gift tag on Microsoft Word:
- Open new document. Open Microsoft Word and open a new document. This will lead you to a blank document where you can work on your gift tag.
- Add page border. On the design tab found on the top portion in Word, click page border and select the box border option. Adding a border will ensure you avoid misprinting your tags.
- Draw gift tags. In this step, choose the shape of your gift tag from the insert tab. For the traditional gift tag shape, choose the shape with built-in snipped corners. Draw the shape on the one corner first.
- Insert image. To make your gift tag more aesthetically pleasing, add an image inside the gift tag shape you have just drawn. Make sure you use an image appropriate to the occasion the tag will be used for.
- Add text. After resizing the image to fit into the tag, insert a blank text box to where you want to put your “to” and “from” section. You can also insert additional texts or greetings in your gift tag.
- Duplicate and print. Duplicate the finished gift tag by making sure they are copied together as a group. Make sure there is safe distance between each copy and proceed to printing if you are satisfied with overall appearance.
Gift Tag Sizes
A gift tag can be of any shape and size. It truly depends on what shape you want to use, and in that case, the size can also vary. Therefore, there is really no standard to this. However, there is a commonly used shape for a gift tag and it also has sizes which have been followed. Here are the various sizes applicable to a common rectangular with snipped corners gift tag:
- 2.75 × 1.375″
- 3.75 × 1.625″
- 3.75 × 1.875″
- 4.25 × 2.125″
- 4.75 × 2.375″
- 5.25 × 2.625″
- 5.75 × 2.875″
- 6.25 × 3.125″
Gift Tag FAQs
Here are some answers to some of the frequently asked questions about gift tags:
1. What is the best material to use for a gift tag?
A gift tag should be sturdy enough to withstand being transferred from one place to another or it shouldn’t easily crumple if it gets crammed with something. Thus, a gift tag should be made of a paper stock or a sturdy card paper material. The thread to use as a tie for it should be thin and artistic.
2. How to easily design a gift tag?
A gift tag can be easily made through Microsoft Word. However, if you want to finish it quicker, you can use free templates freely available online. Just make sure you use a template that best suits the purpose or is aligned with the occasion it will be used for.
3. What is the best alternative to a gift tag?
If you don’t like to use a gift tag, you can also use a gift label you stick onto the gift. The difference between the two is just how they are attached to the gift; the gift tag is tied onto the gift, while the gift label is adhered on the wrapped gift. A gift label still has a short greeting on it and a section to indicate to whom it’s for and who it’s from.