Order Examples to Download

When we want to buy a merchandise from a retail store or restaurant, we make our intentions known by showing interest toward that particular item. In the world of business or commerce, this is referred to as an order. This is either spoken, written, or implied by a buyer’s actions.
Given the significance of these orders for companies to conduct business with their customers, let’s look into the basics of orders and a few techniques on how you can create one through some ready-made order templates.
Major Elements of an Order Form
An order form is generally comprised of the following elements:
1. Subject: This refers to the exact purpose of the order slip. This is usually indicated at the top section of the paper to keep it visible to readers. It is also printed in a bold font and a larger text size for emphasis. The subject must be as specific as possible for easy comprehension. So if a customer makes a request for the package to be sent to his or her mailing address, the words Delivery Order or Delivery Note should be printed in plain sight.
2. Item Information: Basic information about the item being ordered must be stated on print. This should be specified clearly on the order slip to avoid confusion between one item and another. The information present in an order slip include the product name, item description, model number, color, quantity, and price. This is typically presented in a tabular format to separate items and keep the list organized.
3. Shipping Information: Items bought online are often shipped to the mailing address indicated in the order form. Shipping details include the date as to when and how the item will be sent, its estimated date of arrival, along with the mode of shipping. This is to inform customers as to when their orders will arrive, in which they do have the option to confirm or decline. Keep in mind that orders are made as a request for an item before the transaction may be finalized. You may also see job order examples.
4. Payment Details: When filling the order form, you must indicate the mode of payment that you prefer. Sellers typically provide a series of options for this, such as bank credit, debit, or cash on delivery. Additional charges for shipment or service costs may also be indicated. And because the document may serve as a proof of order, this should be specified in the order note for both parties to refer to if a problem arises.
14+ Order Templates & Examples
Customer Order Confirmation Template
Fundraiser Order Form
International Purchase Order
Maintenance Work Order
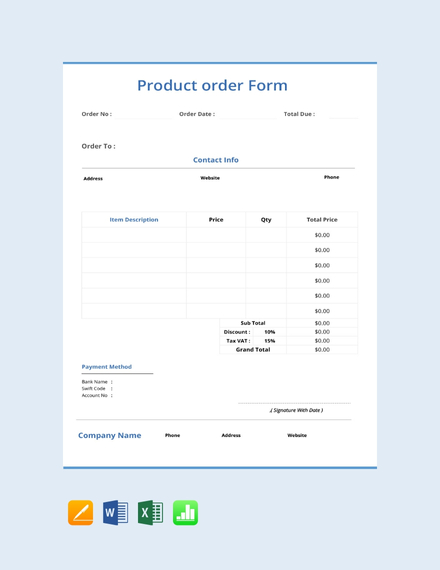
Product Order Form
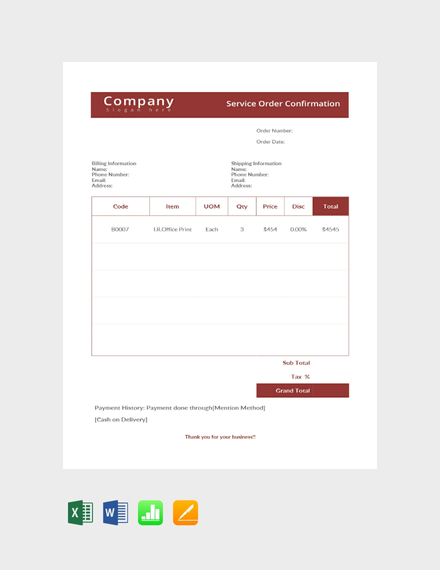
Service Order Confirmation
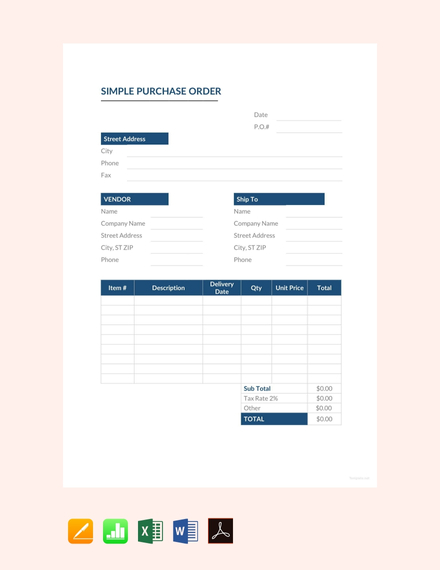
Simple Purchase Order
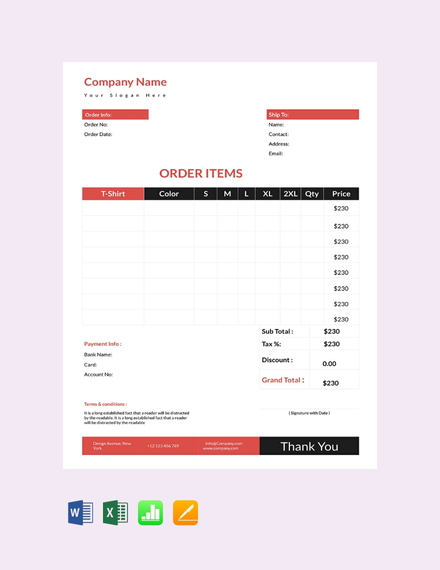
T-Shirt Order Template
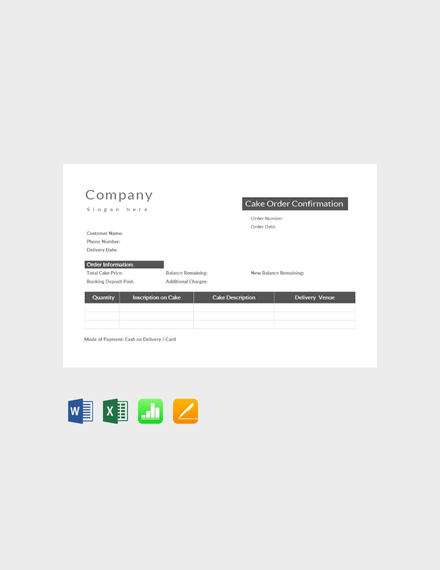
Cake Order Confirmation Template
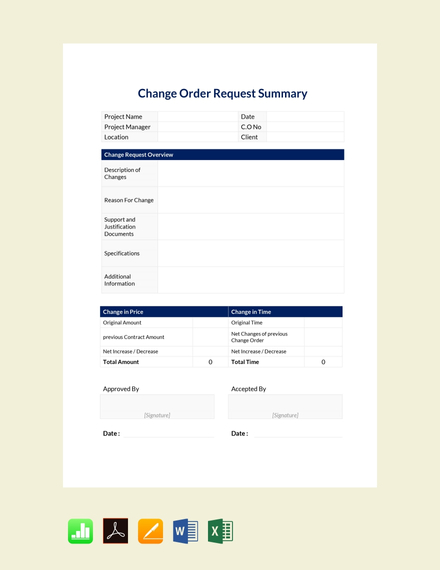
Change Order Request Summary
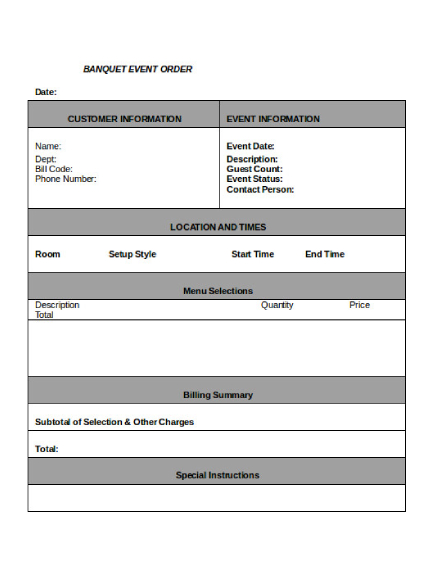
Banquet Event Order
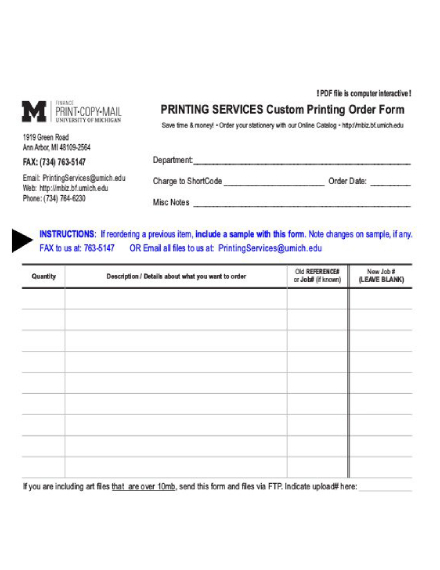
Blank Printing Services Order Form
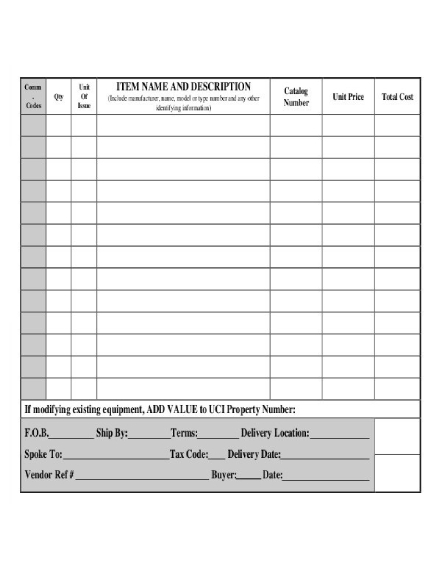
Goods Purchase Order Sheet
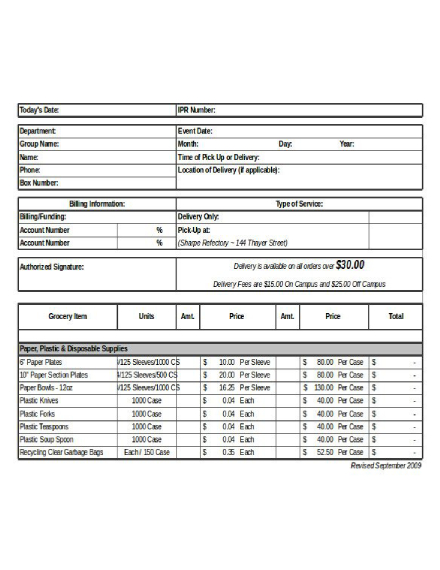
Grocery Delivery Order
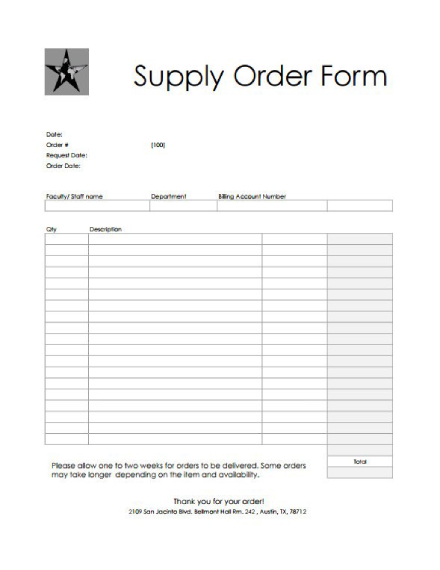
Supply Order Form
How to Create an Order Form
As a corporate entity, having an order form is a definite must to help keep your business operations as smooth as possible. To create this document, refer to the following guidelines:
1. Identify your purpose: Determine the main function of your order form. Is it a purchase order, an order receipt, or an order confirmation? This will give you an idea as to how the document should be created. It’s best to draft an outline of the things you need to include in your order form before proceeding to the next step. That way, you can easily prioritize information so you won’t end up crowding the layout of your document with unnecessary data.
2. Download a template: Since order forms are all designed in a similar way, using a template would be a time-saving option. The great thing about templates is that they’re extremely easy to use, so you won’t have to worry about doing anything wrong. Look for a template that best suits your purpose and then download the document in the file format of your choice. You can even keep the file on your computer for future use. You may also see delivery order examples.
3. Customize your content: Considering how templates are designed to cater a general purpose, see to it that the document is customized before printing. You can add the necessary data to complete the order form, specifically your company name, address, and contact details. If applicable, you can also add your business logo for effective branding. Feel free to adjust the layout of the template along with the placement of elements to suit your personal requirements.
4. Proofread the entire document: For the final step of the process, review the entire document for any spelling or grammar errors and alignment mistakes that may have been overlooked. This is very important, as this may affect the data generated and delivered by the order form. Once you are satisfied with the overall content of your order form, you can have it printed by your production team or posted to your website. You may also see event order examples.
Tips for Creating an Effective Order Form
Now that we’ve covered the basic steps of creating an order form, let’s find out how you can improve this business document with the tips listed below.
- Use simple language: As a business, you may have a specific audience that you are targeting. However, it’s important to make an order form that will cater the needs of the general market. Hence, you must avoid using technical terms and complex wording as this may only make it difficult for readers to grasp. Stick to the basics when creating the form to ensure quick and easy comprehension.
- Keep it organized: Not only is a cluttered layout difficult to read, but it will also be a challenge to fill in with the necessary elements. It’s a good idea to use a table for your order form to help separate sections and entries from one another. Keep in mind that an order form that can be read without much effort is bound to result in a more efficient business process. Thus, you have to be careful with the placement and alignment of items.
- Avoid lengthy text: The contents of an order form are always kept brief and concise, even if they’re meant to describe the item being purchased. This is why it’s best to use simple and specific terms for readers to understand. In most cases, phrases or single-word descriptions would be enough to define each item on the list. This also ensures the proper use of space to prevent a messy layout. You may also see service order examples.
- Categorize sections accordingly: Headings and subheadings play a key role in your order form. This allows you to separate sections while also grouping similar elements together. That way, you can easily find what you’re looking for in the document due to how it is formatted. You can apply a different font size or style to these text elements for emphasis as well. Using the same hierarchy across every order form or slip you produce will also maintain consistency.
- Provide a sufficient amount of space for entries: While most order forms and slips are generated automatically through a system, there may be some parts of your document that need to be filled by hand. In such cases, be sure to leave enough space for additional entries by resizing the cells of your table and including blank lines or empty spaces in the necessary areas.
Order FAQs
What is an order in business?
An order is a spoken or written intention made to engage a party in a commercial transaction involving a product or service offer. From a consumer’s perspective, this is referred to as a purchase order that expresses one’s intention to buy. From a seller’s point of view, on the other hand, this is a sales order that expresses the party’s intention to sell. Orders are collected by a business to report on costs and revenues generated within a period of time.You may also see money order examples.
What does it mean to place an order?
You’re browsing through an online shop looking for a new pair of sunglasses to buy. You come across the perfect pair and decide to place an order for it. In doing so, you provide your name, address, contact information, and credit number for the seller to refer to. To finalize the transaction, the seller sends you an invoice containing details from your order form. By placing an order, you’re simply submitting an order for the product being sold. Once everything has been settled, the item is as good as yours.
What is the purpose of an order form?
An order form is an official document used to request a merchandise from a wholesaler, a manufacturer, or a retailer. This captures all the necessary information required by the seller to complete a transaction. Without such, it would be difficult for the seller to manage the orders that come in and to identify the source of each request. Orders are usually tracked with the help of a key code generated upon submission.
And there you have it! Track and manage orders for your business today with the help of the templates and examples provided in this article.
Share :
