
Birthdays, Christmas, Hanukkah, Valentine’s Day, Mother’s Day, Father’s Day, Weddings, Graduations, or any kind of event or occasion, people will always give gifts to those who are celebrating the special event.
Of course it is customary to wrap presents in nice and pretty wrapping paper with ribbons to give the present a finishing touch of beauty to entice the person who will receive the gift. And so, most presents are also paired with a gift tag, its shapes and designs vary from one another and gift tags are present in many stores worldwide. These small details not only add charm but also make each gift feel more personal and thoughtful.

Gift tags serve as where someone can write their special message to the person who will receive the gift. This is usually the ones the people will save alongside with the gift, so why not make the gift tag look special? This article will help you out on how to make your gift tags to give to someone on their special day.
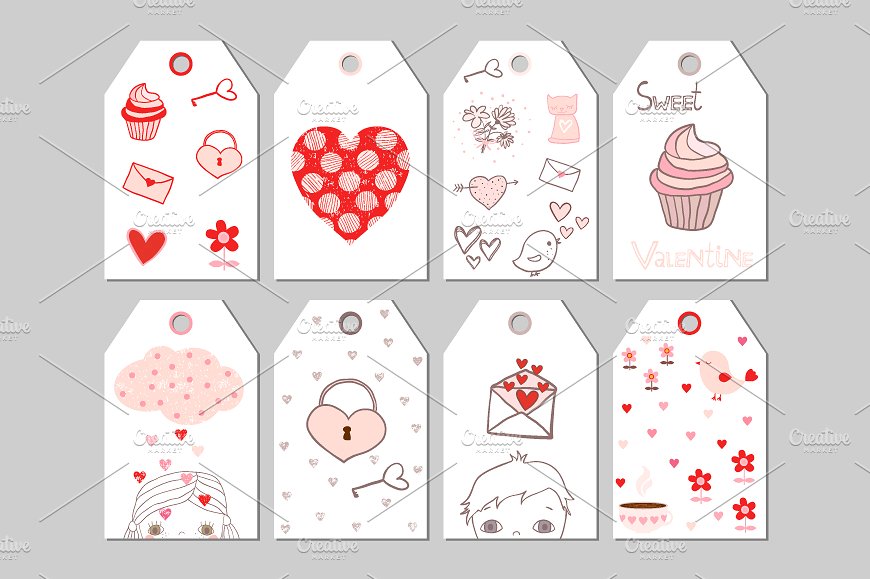
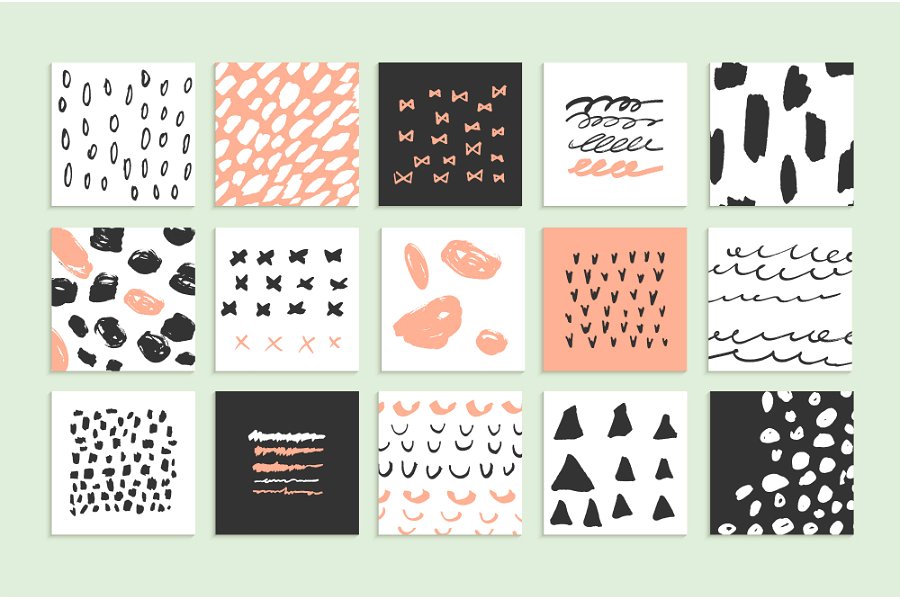
Cute Tag Design Example
Magazine Cuttings Gift Tags
This is a budget friendly gift tag and all the materials you will need are just present in your homes. You’ll only need magazines, scissors, card stock, string and glue.
1. Find some small, good quality images without any text.
The images should be clear, not blurry or pixelated. The image must not be larger than the palm of your hand. The image can either be, contained image, or it can be part of a larger picture. If you don’t have magazines, you can use other materials such as printed images, photographs, scrapbook paper, or wrapping paper. You may also like famous company taglines and slogans.
2. Cut out the image using a pair of scissors.
If the image is already in its certain shape, then cut out the entire shape. If the image is part of a larger image, then cut out just the shape.
3. Paste the cut out image onto a sheet of card stock.
Place the image a sheet of scrap paper, image-side down. Cover the entire back image with glue. After then, flip the picture over and press it against a sheet of card stock. Smooth the image out to get rid of any bubbles or wrinkles.
4. Cut out the pasted image.
If your image has an irregular shape, such as a rolling pin, you can follow the original shape. You can also cut a new shape around it, such as a square or circle. The original color of the cardstock will be part of your gift tag design. If your image is square-shaped, consider cutting it out using a pair of zigzag scissors just to add some pizzazz over it. You may also check out label designs & examples.
5. Write your message on the back of the gift tag.
It’s totally up to you what message you will write on the gift tag.
6. Punch a hole through the top of the gift tag.
Be careful so that you don’t punch through your message or punch at top edge of the gift card.
7. Cut a piece of string about 5 inches long.
You can use any type of string, such as twine, ribbon, yard, or metallic thread.
8. Thread the string through the tag.
Fold the piece of string in half. Poke the folded end through the punched hole in the tag, creating a small loop. Slip the two loose ends of the string through the loop, and tug on them gently to tighten the knot. You might be interested in cool name badges designs and examples.
9. Attach the tag to your gift.
Simply tie the two loose ends of the string around the handle of a gift bag or you can stick self-adhesive labels to the back of your gift tag. Either way, it’s up to you. This will make the back of the gift tag fancier.
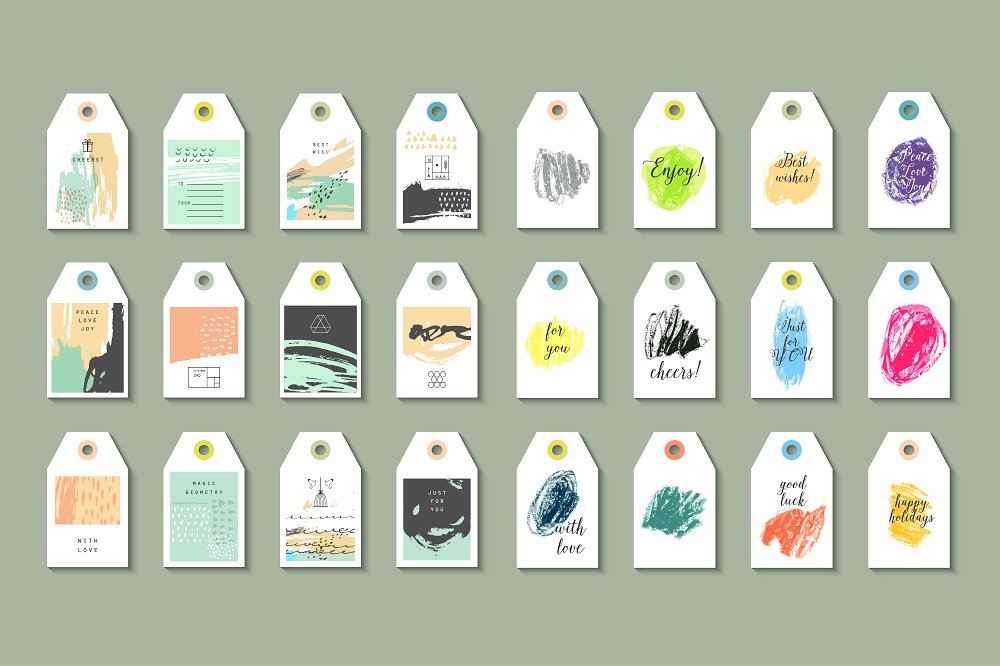
Tag Mock Up Design Example

Wedding Gift Tags

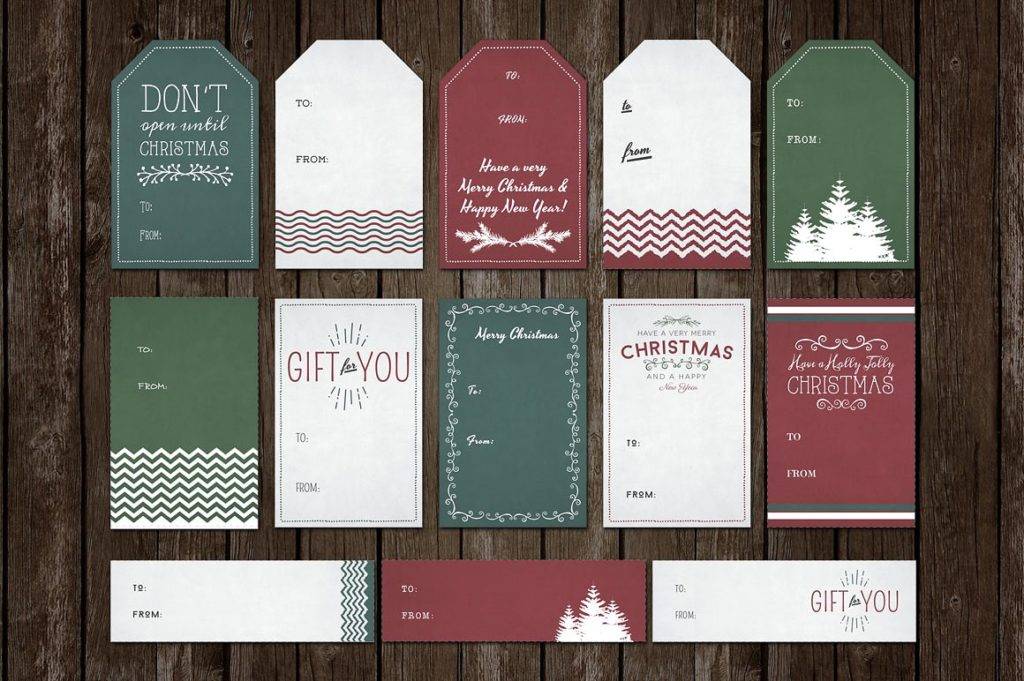
Christmas Tag Design Example
Greeting Cards as Gift Tags
Greeting cards can be used as gift tags too– if you know how to do it. It’s a very simple process and the materials you only need are greeting cards, glue, scissors and other embellishments such as beads and glitters (optional).
1. Find a greeting card with a cool picture on the front.
However, you will not be using the entire card, but rather cutting smaller shapes out of it.
2. Cut a shape out of the card.
You can use any shape you want, such as a square, heart, or circle or any shapes you desire. To make your workload easier, you can use scrapbook punches to punch out fancier shapes. Your tag should not be larger than the palm of your hand. If you want to make a standard gift tag shape, cut a rectangle out first. To make a folded tag, cut out a square shape, making sure to align one of the square’s edges with the folded part of the card. You may also see thank-you card examples.
3. You can decorate your tag by outlining the image on your tag with metallic pens or glitter glue.
You can also glue on small rhinestones or sequins to make shine. Dry the tag completely before continuing to work.
4. Write any message you want on the tag.
If you made a folded tag, write your message inside the folded part of the tag. You may also like best greeting card designs & examples.
5. Punch a hole through the top of the gift tag.
If you made a folded tag, be sure to punch the hole through both layers.
6. Cut a piece of string about four to five inches and thread the string through the punched hole.
Fold the string in half first. Then, poke the folded end through the hole, and make a knot.
7. Attach the tag to your gift.
Tie the loose ends of the string around the handle of a gift bag. You may also check out birthday card designs & examples.
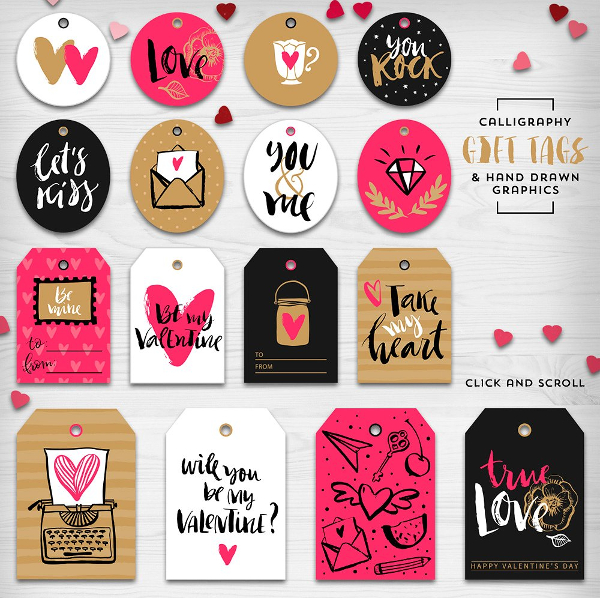
Love Tag Designs Example
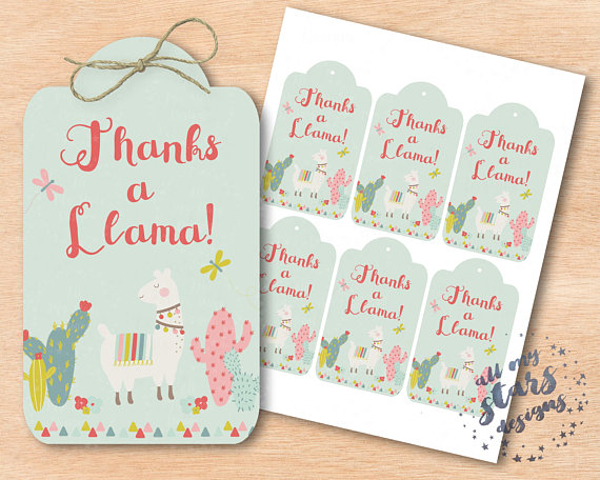
Thanks Gift Tag
Minimalist Abstract Tag Design Example
Card Stock Gift Tags
If you prefer making a gift tag out of a card stock, the things you will need are only card stock (of course), scissors, glue, string, beads and glitters (optional) and puncher (optional). You may also see what to write in a thank-you card.
1. Find some colorful cardstock. It’s up to you if your prefer a plain sheet of cardstock, (you can decorate it later) or you can print out a pretty image from a computer instead.
2. Cut a shape out of the cardstock. You can cut out any shape you want, it’s totally up to you. You can cut the shapes using a plain scissors, zigzag scissors or use a fancy-shaped scrapbook hole puncher. You may also like fall greeting card designs & examples.
3. To make a standard gift tag shape, cut a rectangle out first. Then, cut off the corners of one of the narrow ends to form a point. To make a folded tag from a cardstock, cut out a rectangle first, then fold the rectangle in half.
4. Decorate the tag and let it dry completely before proceeding to work. You can decorate it however you want. Here are some more decorating ideas to help you get inspired:
- Draw designs with metallic pens, colored pens or pencils, crayons, watercolor or glitter glue.
- You can also glue on some small rhinestones, plastic beads, pieces of fabric paper or sequins.
- You can also stick on some washi tape around the edges of a square or rectangular card to give it a fancy border.
- You can also attach stickers that can match the event or occasion. Example, if the tag is for a a graduation gift, you can use a diploma or graduation cap stickers.
You may also check out easter greeting card designs and examples.
5. If you want to make your card stock more ambitious in its design, you can make layered tag. After you have decorated your tag, cut a smaller shape out of card stock, and decorate it as well. Attach it to the tag using a small piece of foam mounting tape as this will make that 3D layer effect of the card. You can also match the smaller shape to the larger one, or use a different shape. For example, if your tag is square-shaped, you can make the smaller shape a trapezoid. You might be interested in examples of business card design.
6. Write your any message you want on the tag. If you made a folded card, write your message inside the card.
7. Punch a hole near the top of the gift tag. Be careful not to punch through your message or the top edge of the tag. If you made a folded card, be sure to punch through both layers of the card stock. You may also see examples of name card design.
8. Cut a piece of string about four to five inches in length. You can use any sort of string.
9. Thread the string through the hole. Fold the string in half first, then poke the folded end through the hole in the tag and make a knot.
10. Tie the tag to your gift. Or if you don’t want to do that, you can use a double-sided tape to stick the tag on the gift.
Some Cool Ideas for Gift Tags
If you’re the type of person who loves unique looking gift tags, here are some ideas that you can use the next time you’ll be needing a gift card.
- Nautical theme gift tag
- Creature comfort gift tag
- Hama bead gift tag
- Reusable chalkboard gift tag
- Scrap paper ornament gift tag
- Photo transfer gift tag
- Pressed gift tags
- Cross stitch gift tags
- Salt dough gift tags
- Hand drawn gift tags
- Felt gift tags
- Washi tape gift tags
- Paper feather gift tags
- and so much more…
You may also like examples of animated greeting cards.
Mini Greeting Tags Design Example
Easter Tags Design Example

We hope you enjoyed browsing through our gift tag idea designs and examples. Purchase them now and attach them to your gifts.