Invitations are sent out to people whom you want to attend and celebrate with you on special events and special occasions. It could be in a verbal or in a written manner, just like an event invitation for special events like a music festival, exhibits, or a book launching etc.
Sending out invitations is a formal way of telling the person that he or she is very important and that his or her presence would be highly appreciated in the gathering and sharing of good moments. Invitations do not only limit as invitation cards, they can come as invitation flyers too.
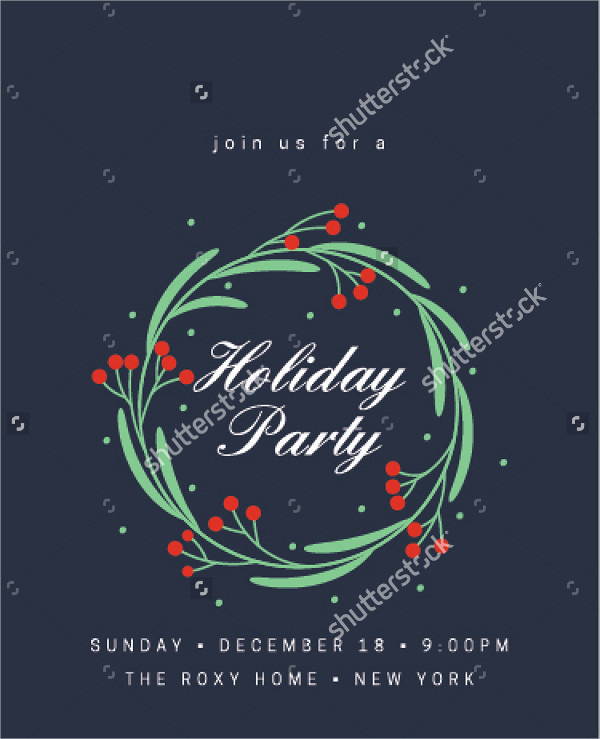
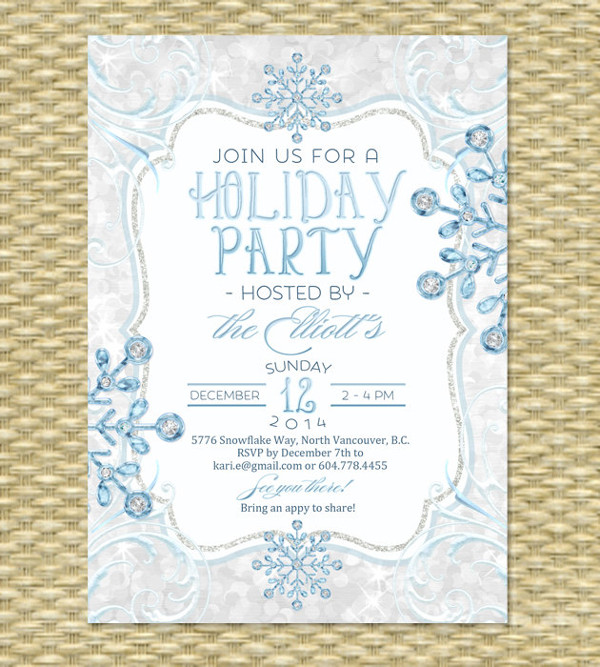
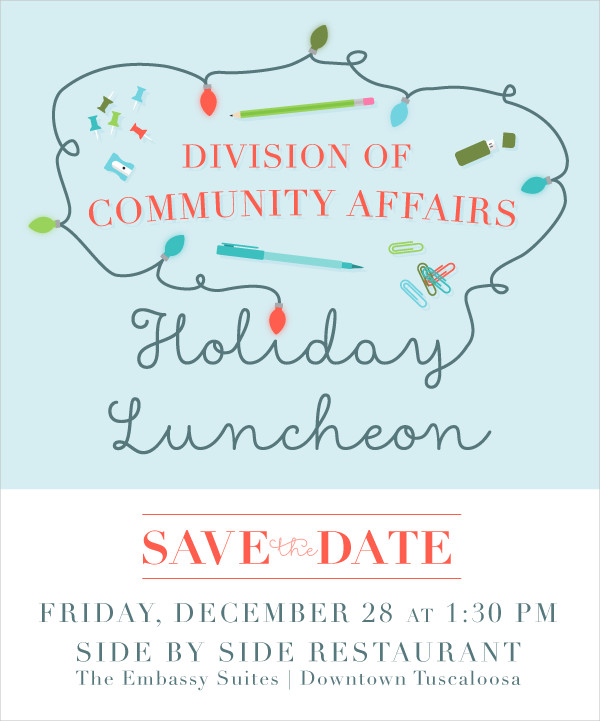
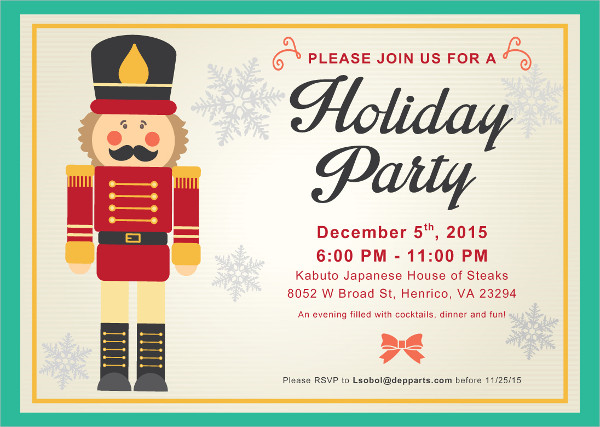
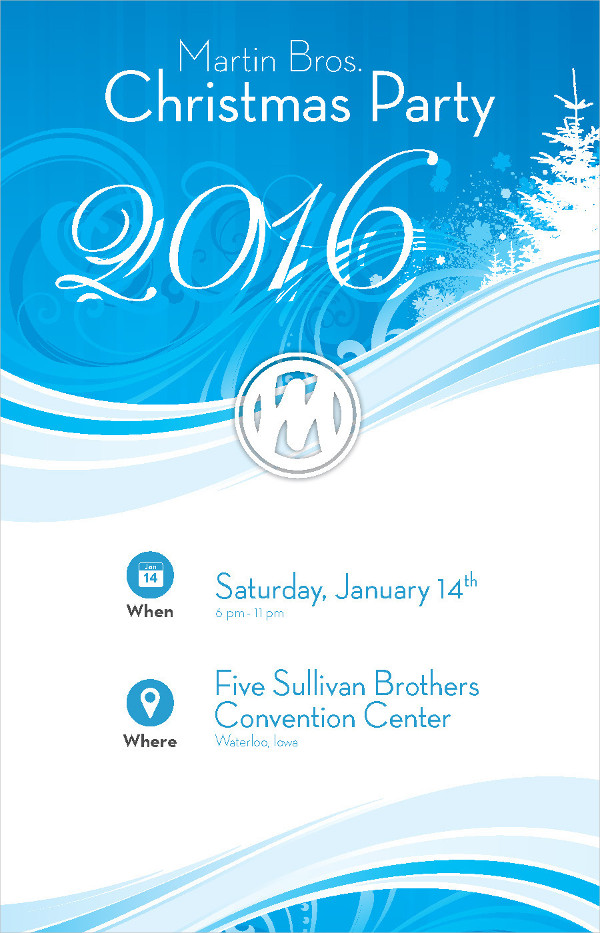
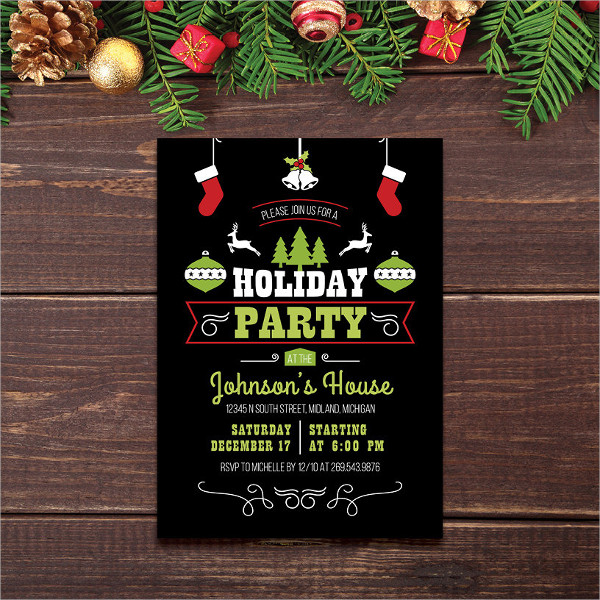
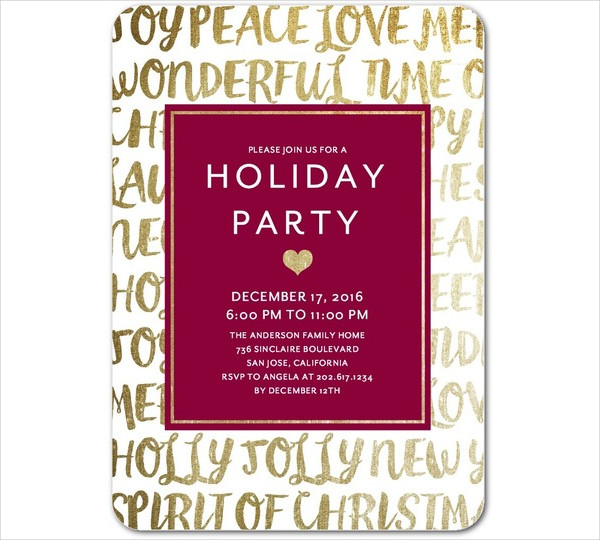
Holiday Party Invitations
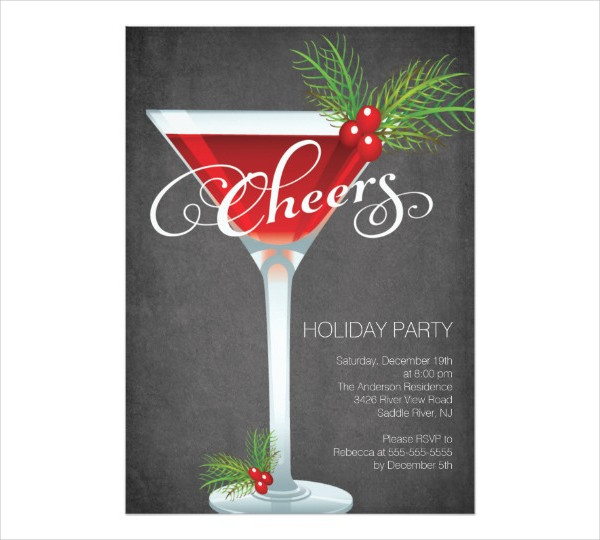
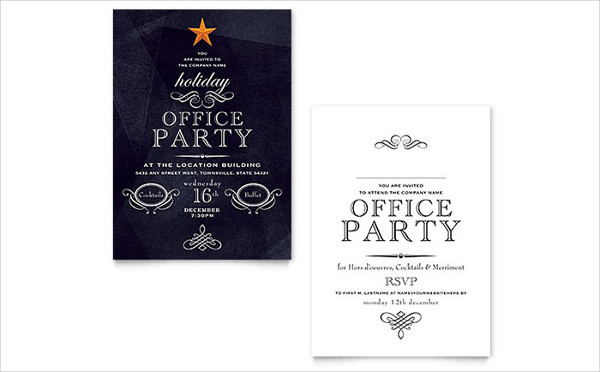
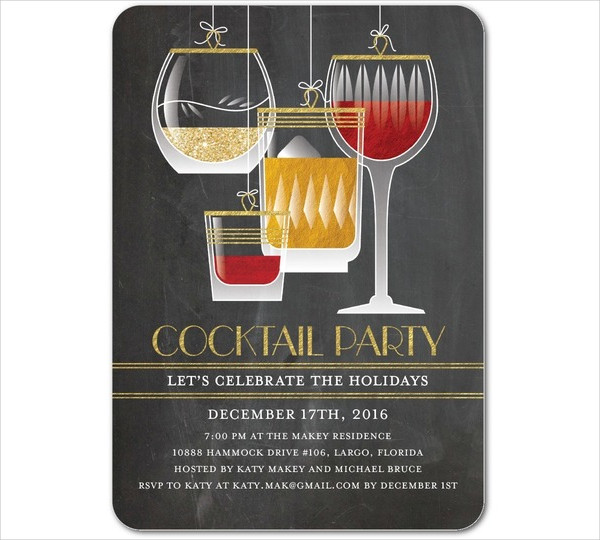
Holiday Cocktail Party Invitation
Holiday Office Party Invitation
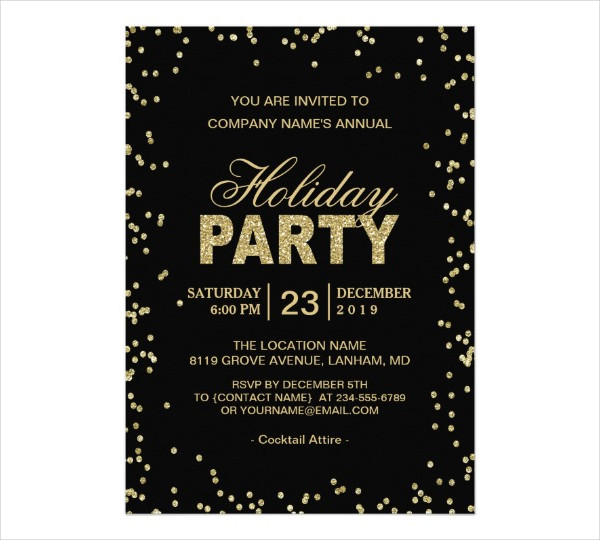
Company Holiday Party Invitation

Holiday Open House Invitation Examples
Free Holiday Open House Invitation

Business Holiday Open House Invitation

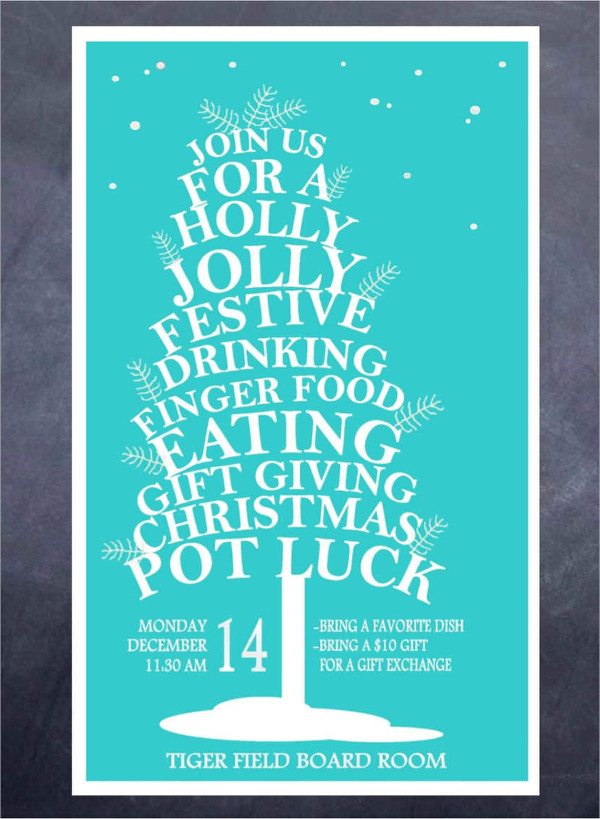
Holiday Potluck Invitation
Holiday Party Potluck Invitation
Printable Holiday Invitations
Blank Printable Holiday Invitation
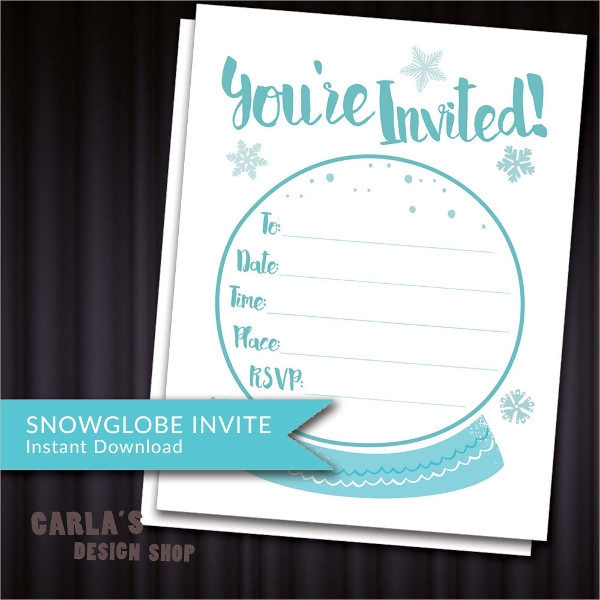
Printable Holiday Party Invitation
Corporate Holiday Invitation Samples
Corporate Holiday Party Invitation
Things You Should Know In Making Holiday Invitations
Before starting the process of making a holiday invitation designs, one should know exactly what to do before putting it into action. Basic guidelines, the importance, components and other important stuff.
Holiday invitations should follow these basic guidelines:
- Being consistent with style and theme in an invitation. If the holiday has a formal concept, the theme and style of the holiday invitation must be formal too. It should not go on the other way around, so you will not confuse your invitee.
- The lunch invitation should include the basic information needed. The five w’s and one” h” the what, when, where, who, why and how. These are the basic information your holiday invite should include.
- Do not forget to include the important persons involved or the sponsor of the holiday event/ celebration, so as to give the invitees an idea what to expect.
- Avoid using various fonts one to two types of font styles is already more than enough
- Spell out words correctly, avoid abbreviation.
Holiday invitations can be formal and informal just like a birthday invitation or a business invitation, their contents follow the same components:
- Event / holiday type (is it a lunch, brunch, a snack, a tea party, or a dinner)
- Event/holiday request
- Event/ holiday host
- Event/ theme (formal, casual, funny, laid back, or a White Christmas or red or the unique blue themed holiday or Polka Dot themed New Year’s Eve)
- Dates ( for formal invitations, the year should be spelled in words for formal, you have the choice to not include the year or simply just write it in figures)
- Time (do not forget to put p.m or a.m to avoid confusion)
- Location (include maps if necessary)
- Dress Code (this is optional but if the event should strictly follow the proper attire then it’s a must to include in the invitation)
- Reply Instructions ( if you are particular with the number of guest that would be coming in.) This is usually included in business invitation to make sure how many guests are expected to come.
Holidays are the best time to enjoy special moments with loved ones and friends, so it is important to at least send a good holiday invitation to them because it serves as an intro to the very moment- celebration of the holiday!
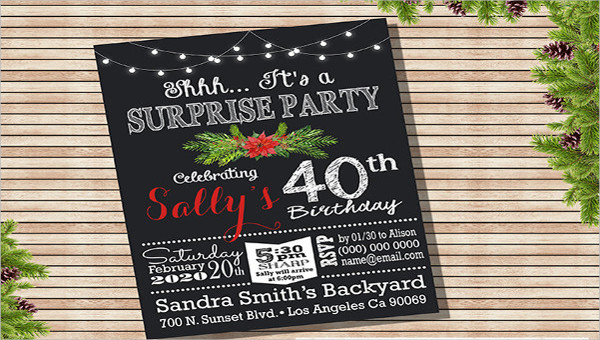
Holiday Birthday Invitations
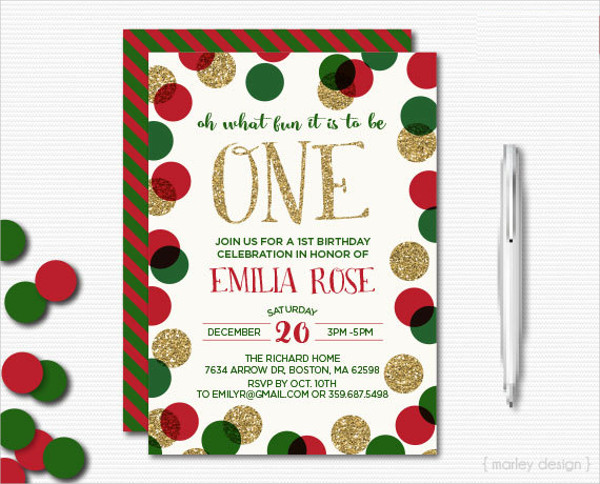
Holiday First Birthday Invitation
Free Holiday Invitations
Free Office Holiday Invitation
Free Corporate Holiday Invitation
Free Printable Holiday Invitation
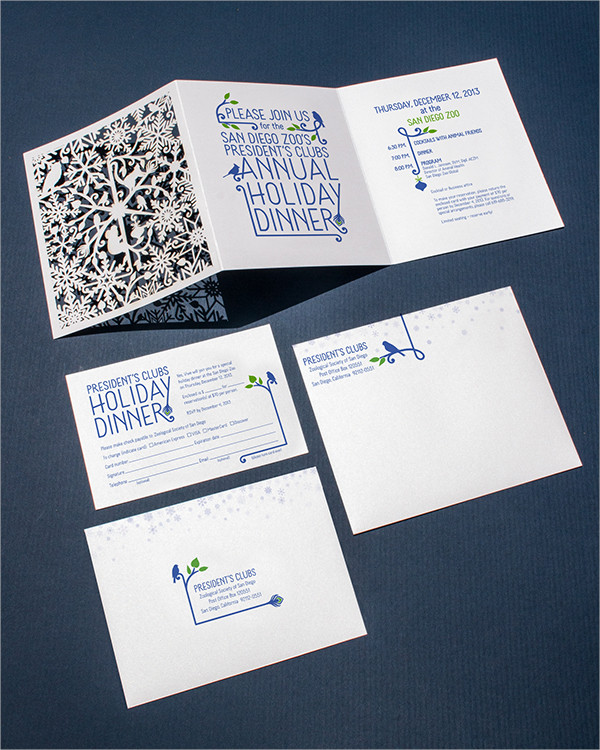
Holiday Dinner Invitation Examples
Office Holiday Dinner Invitation
Free Holiday Dinner Invitation
Holiday Invitation Ideas
In the ancient times , holidays are mostly celebrated the “old way” or the traditional ways. Mostly people celebrate it just the way how it should be, but as times goes by , and as the world continues to evolve especially now that we are already in the post modern era, people learn to add some spices and kicks to every celebration. There are lots of party or event ideas to choose from. People tend to experiment making invitations not only in the form of card but invitation flyers also, yes they could come in flyers too. So this time let’s talk about the holiday invitation ideas we offer here in our site.
- Holiday Cocktail Party Invitation- this invitation idea is best suited when you are initiating the celebration with some college friends and workmates, the appearance of this invitation gives an intro of a casual adults’ cocktail gathering.
- Holiday Office Party/ Company Holiday/ Corporate Holiday Invitation Samples- these invitation designs are simple yet with a touch of corporate design, the logo of the company is present, it gives a hint that the expected people that would be coming in are of course those people who are working in the company.
- Business Holiday Open House Invitation- this invitation of ours is very elegant, it looks formal and authentic. ( do not forget we have available printable and blank invitation card examples)
- Holiday Birthday Invitations- If your birth perfectly sets on a holiday then it would be a great idea too to celebrate it altogether, and you should not worry about it because we can provide you both a holiday and a birthday invitation card all you want.
- Holiday Dinner Invitation Examples- This holiday invitation we provide comes in three panels it’s elegant and simple design is well suited or a formal or casual type of holiday celebration.
- Funny Holiday Party Invitation/ Funny Office Holiday Invitation- If you want to kick something nice and unique in your party, why not go ahead and start the funny impression in your holiday invitation? This would surely excite the invitees!
- Unique Holiday Party Invitation- As the name itself says “unique” why not go ahead and grab this type of holiday invitation if you have already ran out of invitation ideas. You would surely be sending out pretty and fabulous invitations.
And oh do not forget that we also provide party email invitation and please check out our baby shower invitations and bridal shower invitations that’s as sure hit to your tastes!
Funny Holiday Invitations
Funny Holiday Party Invitation

Funny Office Holiday Invitation
Holiday Cocktail Invitation Example
Holiday Cocktail Party Invitation
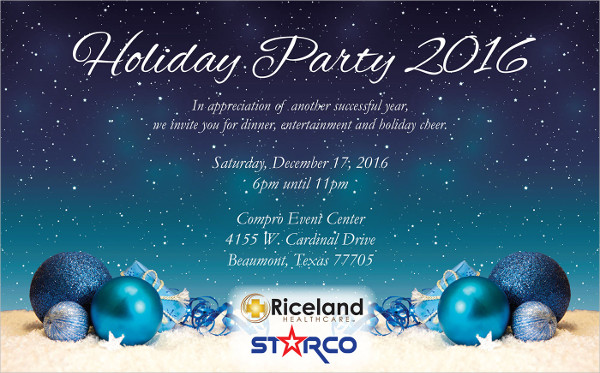
Holiday Email Invitation
Holiday Party Email Invitation
Unique Holiday Invitation
Unique Holiday Party Invitation
The Importance and Other Types of Invitations
With the fast paced progressing world we are in right now, most usually rely on their needs to the internet and some electronic devices. Even ordering food could be done online too and some clothes and other stuff. Messages and other verbal related matters could be done through electronic devices also. Anyhow, we can still be unique and romantic in some other ways, sending invitation cards for example via mail or handing it personally. This idea sounds pretty amazing. And it’s not only special events like birthdays (birthday invitation) and weddings require invitation, event invitations are sent out to people invited in some music festivals, concerts, book launching or opening of some galleries etc. Why do you think we need one? Below is the list of reasons why holiday invitations are important.
- Formal Invitation- when you send out invitations to people, it only means that the event is serious and it is a professional way of asking them to come and celebrate in the special day or event.
- Souvenirs- astoundingly made invitations act as souvenirs, you know your invitees will never a waste an invitations whose full effort in making one is vested on.
- Reflection – they serve as the reflection of the quality of what type of occasion they may be attending to.
- Inform- with all the pertinent information listed in the invite, it allows people to know what they will be expecting and the preparations they are about to execute
- Good Plan- serves as good plan so you will know how many and who are the people attending the party/ event/ gathering.
- Sets Tone- since invitations act as the intro to the event, high percentage of proper expectation is set
- Conveys excitement and apprehension- an Party invitation ignites the minds of the invitees, you you are on right track if were able to make them feel excited for the upcoming event.
Types of Invitations
- Handmade- this type of invitation is mostly made at home by those who are into customizing and personalizing invites. birthday invitations and baby shower invitations can be made possible too.
- Electronic- those invites that are sent through emails and through other electronic devices.
- Printed- Printed ones are usual invitations we see in the market or those that are made personally yet through the use of a software and eventually printed on a special type of paper.
With so may ways on how to express your purpose of inviting invitation cards will never run out of style although invitation flyers have been existing already.