
Free AI Sharpen Image, Real World Sharpen Image Examples
Sharpen any photo online free with AI. Choose a sharpen model, fix blur, boost detail, compare before & after, and download in PNG, JPG, or WEBP — no signup.
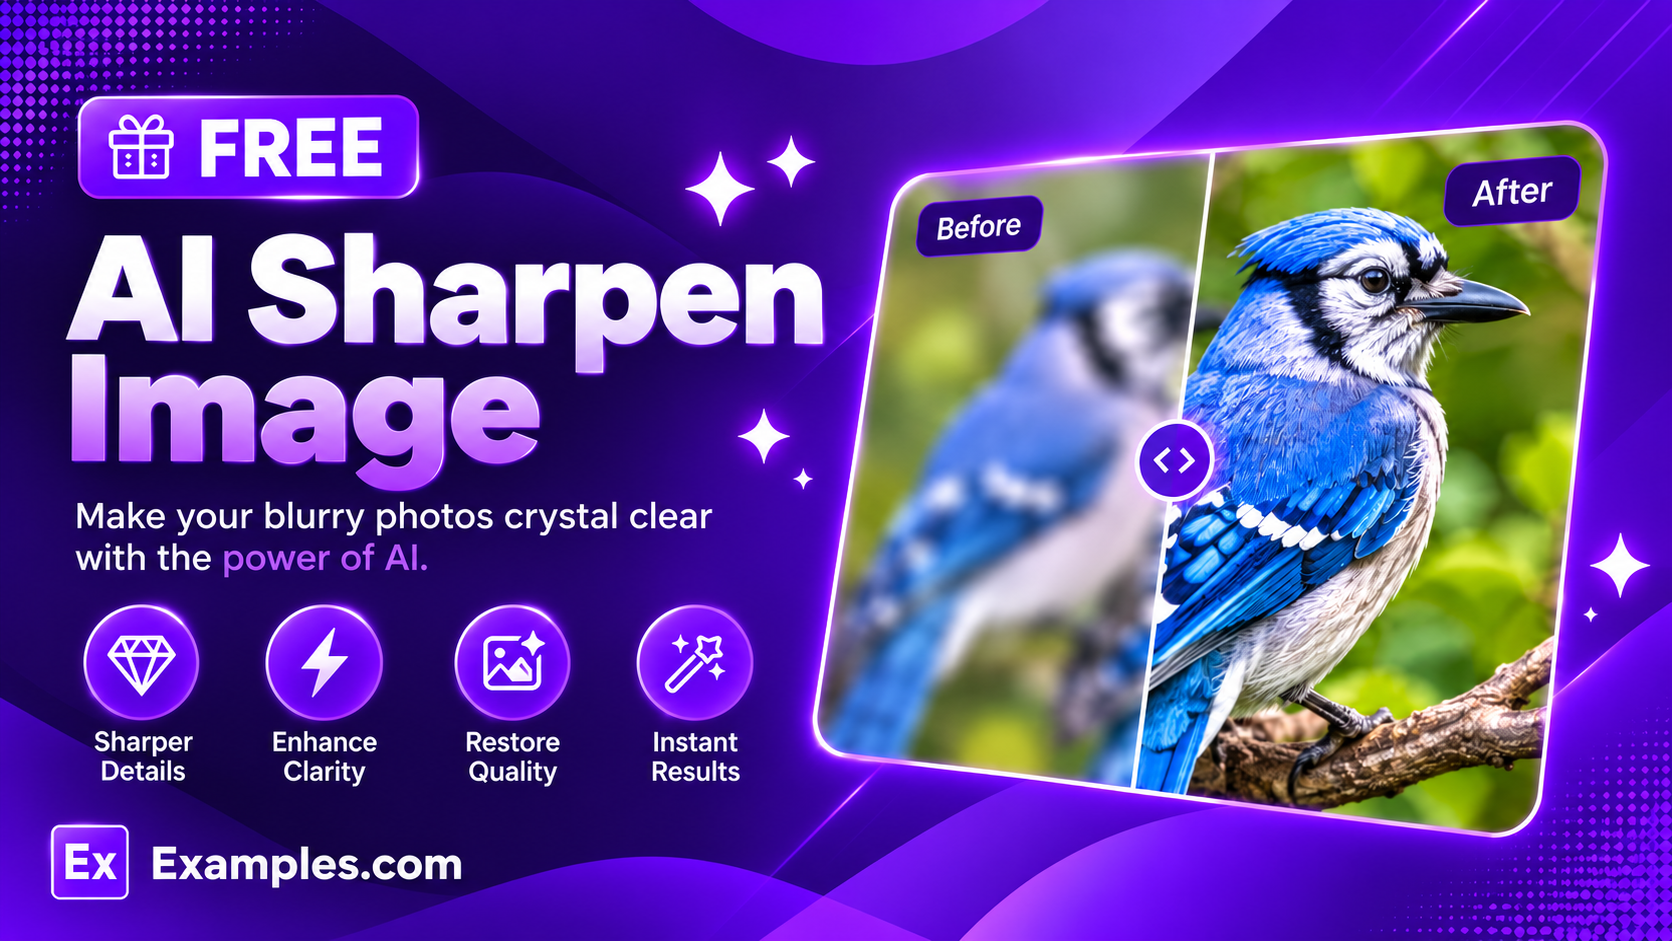
Restore crisp detail and clarity to your photos with the Examples.com AI Sharpen Image. Upload a photo, pick a sharpen model built for the kind of shot you have, and get back an enhanced image with sharper edges and finer detail — compare it side-by-side against your original before you download.
How to Use the AI Sharpen Image
Step 1: Upload Your Photo
- Upload the Image: Click the upload area (or drag and drop) to add the photo you want to sharpen, up to 5MB, in PNG, JPG, WEBP, or GIF format. Once uploaded, a preview appears in the panel and the “Sharpen Image” button becomes active.
Step 2: Describe What to Focus On (Optional)
- Describe What to Focus On: Optionally type a short note — for example, “sharpen the eyes and fur texture, keep the background soft” — to point the AI toward a specific part of the photo. Leave it blank and the AI sharpens the whole image based on the model you choose.
Step 3: Choose a Sharpen Model
- Sharpen Model: Pick the approach that matches your photo — Auto, Standard, Strong, Wildlife, Lens Blur, or Super Focus V3. Auto is selected by default and automatically detects the best sharpening approach for the image.
Step 4: Choose an Aspect Ratio
- Aspect Ratio: Select the output shape — Square (1:1), Landscape (16:9), Portrait (9:16), Standard (4:3), or Portrait Standard (3:4). Square (1:1) is selected by default. If your photo’s original shape differs from the one you pick, the tool adjusts the crop naturally to fit.
Step 5: Generate, Compare, and Download
- Generate Button: Click the purple “✨ Sharpen Image” button. The AI enhances sharpness and fine detail based on the model and instructions you set, while keeping the subject, colors, and lighting unchanged.
- Before / After: Use the “Before / After” toggle next to the download button to switch between your original upload and the sharpened result, so you can compare the difference directly.
- Download: Use the “Download ▾” menu to save the sharpened image as a PNG, JPG, or WEBP file.
AI Sharpen Image Formula
The AI Sharpen Image follows a structured input-to-output process to enhance detail without altering the photo itself:
Sharpen Quality = Model Fit + Detail Recovery + Content Preservation
Where:
- Model Fit is how closely the chosen Sharpen Model (Auto, Standard, Strong, Wildlife, Lens Blur, or Super Focus V3) matches the subject and condition of your photo, whether that’s a soft close-up, a wildlife shot with fine fur detail, or an image blurred by camera shake
- Detail Recovery is the AI’s enhancement of edges, texture, and micro-contrast based on that model, guided further by any optional focus notes you provide
- Content Preservation is the tool holding the subject, colors, lighting, and framing steady throughout, only adjusting the crop when a different aspect ratio is selected, and never adding text, watermarks, or new elements
The closer your Sharpen Model matches your photo’s actual condition, the more natural and effective the result will be.
Examples of AI Sharpen Image
Example 1: A Soft Headshot
A user wants to sharpen a slightly soft headshot for a professional profile photo.
- Photo: A headshot with slightly soft focus on the face
- Sharpen Model: Standard
- Aspect Ratio: Square (1:1)
- Result: A balanced, natural-looking sharpening pass that enhances edge detail and texture without introducing artifacts or halos.
Example 2: A Wildlife Close-Up
A photographer wants fur detail to stand out in an animal photo.
- Photo: A close-up of a fox in natural light
- Sharpen Model: Wildlife
- Aspect Ratio: Landscape (16:9)
- Result: Enhanced fur and whisker texture with a natural, non-oversharpened look, recomposed to fit a wide landscape frame.
Example 3: A Blurry Phone Photo
A user wants to fix a photo blurred by slight camera shake.
- Photo: A phone photo blurred by hand movement
- Sharpen Model: Lens Blur
- Aspect Ratio: Standard (4:3)
- Result: Corrected lens blur with recovered crisp edges and fine detail that was lost to defocus.
Example 4: A Story-Format Upload
A content creator wants a sharpened photo sized for a vertical story post.
- Photo: A product photo meant for an Instagram Story
- Sharpen Model: Auto
- Aspect Ratio: Portrait (9:16)
- Result: Automatically detected sharpening for overall clarity, with the crop naturally adjusted to fit a tall 9:16 frame.
Example 5: A Heavily Degraded Scan
A user wants maximum detail recovery on an old, low-detail scanned photo.
- Photo: An older, low-detail scanned photo
- Sharpen Model: Super Focus V3
- Aspect Ratio: Portrait Standard (3:4)
- Result: The most advanced detail-recovery sharpening available, reconstructing fine texture and edge definition for maximum clarity.
Is this AI Sharpen Image truly free?
Yes. The AI Sharpen Image is completely free to use, with no hidden charges, sign-up, or subscription required to sharpen your photo.
Will sharpening change my photo’s subject or content?
No. The tool is instructed to keep the subject, colors, and lighting unchanged, and to only increase sharpness and fine detail — it won’t add or remove elements, or add any new text, caption, watermark, or logo. If the aspect ratio you pick differs from your photo’s original shape, the crop is adjusted naturally to fit, but the subject itself stays the same.
What’s the difference between the Sharpen Model options?
Auto automatically detects the best sharpening approach for your image. Standard applies balanced, natural-looking sharpening. Strong applies aggressive sharpening for images that look especially soft or out of focus. Wildlife focuses on fur, feathers, and fine natural texture. Lens Blur corrects for camera shake and general softness. Super Focus V3 applies the most advanced detail-recovery sharpening available, for the highest level of clarity.
Does changing the aspect ratio crop my photo?
Yes, if the aspect ratio you select differs from your original photo’s shape, the tool adjusts the crop naturally to fit that shape while keeping the subject itself unchanged. If you’d rather keep your photo’s exact original shape, pick the aspect ratio option closest to your photo’s real dimensions.
Can I compare the sharpened image with my original photo?
Yes. Once your image is sharpened, use the “Before / After” toggle next to the download button to switch between your original upload and the sharpened result, so you can see exactly what changed.
What file formats can I download the sharpened image in?
You can download the sharpened image as a PNG, JPG, or WEBP file from the “Download ▾” menu above the output panel.