
Free AI Photo Blur Converter, Real World Blur Examples
Blur any photo's background in seconds with our Free AI Photo Blur Converter.
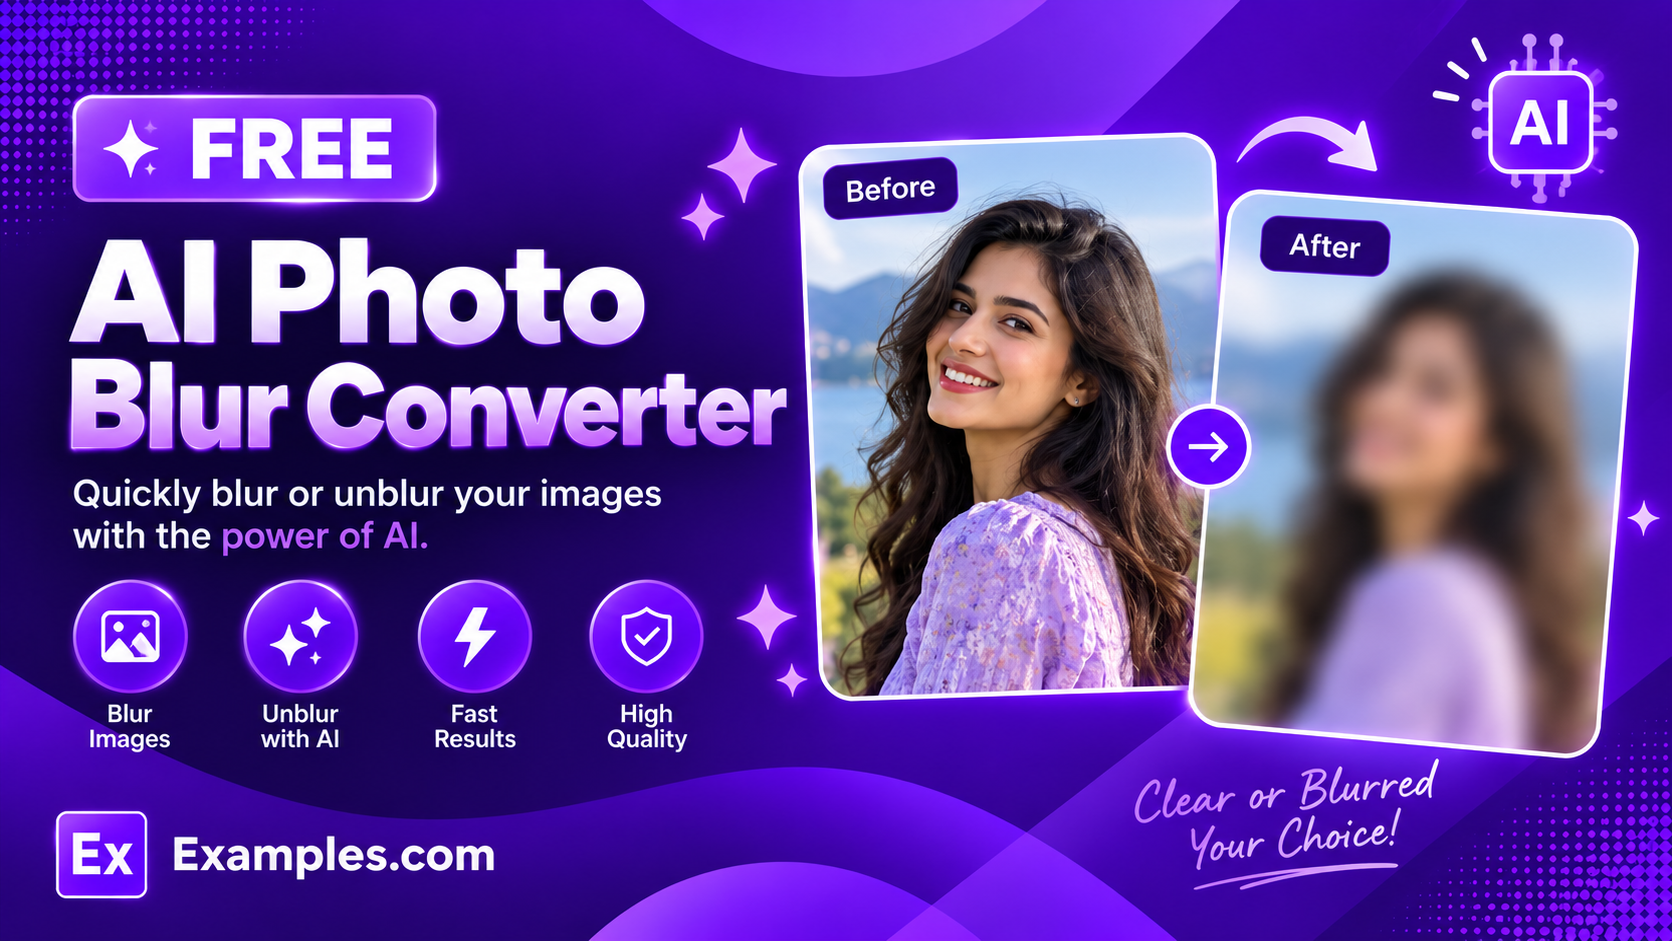
How to use AI Photo Blur Converter
Step 1: Upload the Photo You Want to Blur
- Drag and drop the photo into the upload box or click “browse files.” This step is required — the tool blurs a photo you provide rather than generating one from scratch. Accepted formats are PNG, JPG, WEBP, and GIF, up to 5MB.
Step 2: Describe the Blur Effect You Want (Optional)
- If you want to point out exactly what to blur, type it in the text box (e.g., “blur the background behind the person” or “blur everyone’s face except mine”). This field is optional — most Blur Types work without any description.
Step 3: Choose a Blur Type
- Select the kind of blur you want: Background, Full Image, Motion, Tilt-Shift, Face, or Selective.
Step 4: Choose an Aspect Ratio
- Select the shape of the finished image: 1:1 (square), 16:9 (landscape), 9:16 (portrait), 4:3 (standard), or 3:4 (portrait standard).
Step 5: Apply the Blur Effect
- Press the “Apply Blur Effect” button. The AI applies the selected blur while keeping the rest of the photo unchanged.
Step 6: Download Your Photo
- Once the blurred photo appears, click “Download” and choose PNG, JPG, or WEBP to save it to your device.
How to blur the background behind a subject
Step 1: Upload the Photo You Want to Blur
- A photo of a person standing in front of a row of trees is uploaded into the upload box.
Step 2: Describe the Blur Effect You Want (Optional)
- The description is set to “Blur the background behind the person.”
Step 3: Choose a Blur Type
- The Blur Type is set to Background.
Step 4: Choose an Aspect Ratio
- The Aspect Ratio is set to 1:1 (Square).
Step 5: Apply the Blur Effect
- Clicking “Apply Blur Effect” produces the same photo with the trees blurred into a soft bokeh backdrop while the person stays sharp and in focus.
Step 6: Download Your Photo
- Clicking “Download” and selecting PNG saves the finished photo to your device.
Suppose you upload a photo of a person standing in front of some trees and enter “Blur the background behind the person,” with Blur Type set to Background and Aspect Ratio set to 1:1.
The AI Photo Blur Converter identifies the main subject and applies a shallow depth-of-field blur to everything behind them.
The person stays sharp and in focus, while the trees and background soften into a bokeh-style blur, similar to a portrait taken with a wide-aperture lens.
The result can then be downloaded as a PNG, JPG, or WEBP file.
How the AI Photo Blur Converter Works
The AI Photo Blur Converter edits a photo you upload rather than generating a new one from scratch.
The Blur Type you select tells the AI what part of the image to blur and how — Background keeps the subject sharp while softening everything behind it, Full Image blurs everything uniformly, Motion adds directional streaks, Tilt-Shift creates a narrow in-focus band for a miniature-model look, Face blurs faces for privacy, and Selective blurs everything except a subject you describe.
The rest of the photo — its subject, colors, and content — is kept the same as the original.
The optional description field lets you point out exactly what to keep in focus or which faces to blur.
The Aspect Ratio you select determines the shape of the final output canvas.
Benefits of the AI Photo Blur Converter
- Six blur types in one tool: get background bokeh, full-image blur, motion streaks, tilt-shift miniature effects, face blurring, or selective focus.
- Subject stays sharp: Background and Selective blur are designed to keep your main subject in focus while softening the rest.
- Privacy-friendly face blurring: blur faces in a photo before sharing it publicly, without needing photo editing software.
- No design skills needed: get a professional-looking depth-of-field effect with one click.
- Aspect ratio control: output your photo as a square, landscape, portrait, or standard frame to fit where you plan to use it.
- Free and browser-based: use the tool from any device with a browser, with no sign-up required.
Common Use Cases for Blurring a Photo
1. Get a portrait-style background blur
Turn a phone photo with a busy background into a portrait-lens-style shot by blurring everything behind the subject with the Background option.
2. Protect people’s privacy before sharing a photo
Blur the faces of bystanders or other people in a photo before posting it publicly, using the Face option to keep only the intended subject recognizable.
3. Create a sense of motion or speed
Add directional Motion Blur to a photo of a moving subject, like a car or runner, to make a still photo feel more dynamic.
4. Make a miniature “toy model” effect
Apply Tilt-Shift blur to an aerial or elevated photo to give it the illusion of a miniature scale model, a popular creative photography effect.
5. Soften a distracting or low-quality background
Use Full Image or Selective blur to de-emphasize a messy or low-resolution part of a photo while drawing attention to the subject that matters.
Tips for the Best Blur Results
- Upload the highest-resolution version of your photo you have, so the sharp areas stay crisp.
- Use the description field to specify which subject should stay in focus if the photo has more than one person or object.
- Choose Selective Focus Blur when you want to keep a specific described area sharp instead of the whole subject.
- For privacy blurring, double-check the result to make sure every face you wanted blurred is fully obscured.
- Match the Aspect Ratio to where you plan to use the image, such as a square for social posts or a landscape ratio for banners.
Examples of Photo Blur Effects
- Example 1:
- Blur Type: Background
- Description: Blur the background behind the person
- Aspect Ratio: 1:1 (Square)
- Result: A sharp subject in front of a softly blurred bokeh background.
- Example 2:
- Blur Type: Face
- Description: None
- Aspect Ratio: 4:3 (Standard)
- Result: A group photo with every visible face blurred for privacy.
- Example 3:
- Blur Type: Motion
- Description: None
- Aspect Ratio: 16:9 (Landscape)
- Result: A wide photo of a moving subject with directional streaks suggesting speed.
- Example 4:
- Blur Type: Tilt-Shift
- Description: None
- Aspect Ratio: 16:9 (Landscape)
- Result: An elevated cityscape photo with a narrow focused band, giving a miniature-model appearance.
Do I need to upload a photo?
Yes. This tool blurs a photo you provide, so uploading an image is required before you can generate a result.
Do I need to type a description?
No. The description field is optional. Most Blur Types work without any text — the description is most useful for Selective Focus, where you need to specify what should stay sharp.
Will the rest of my photo stay the same?
The generator is instructed to keep the subject, colors, and overall content of the photo the same, applying only the described blur effect.
Can this tool blur faces for privacy?
Yes. Select the Face option to blur or pixelate human faces visible in the photo while leaving the rest of the image unchanged.
What image formats can I upload?
You can upload PNG, JPG, WEBP, or GIF files, up to 5MB in size.
Can I describe the blur by speaking instead of typing?
Yes. The description field includes a voice input button. Click it, describe the blur effect out loud, and your words are added to the text box automatically.
Can I download the photo in different formats?
Yes. Once your photo is generated, you can download it as a PNG, JPG, or WEBP file from the Download menu.
Is the AI Photo Blur Converter free to use?
Yes, the AI Photo Blur Converter is completely free to use, with no sign-up required.
What should I do if the generator gives an error?
Make sure you’ve uploaded a photo before generating, and check that it’s under 5MB and in a supported format (PNG, JPG, WEBP, or GIF). If the problem continues, try a different Blur Type or add a short description and generate again.